
|
I've had this truck
since late 2006. The power sliding window broke just after the
warranty expired in 2009. It was probably my fault for trying to
open it, then close it with a thin layer of ice on it, but
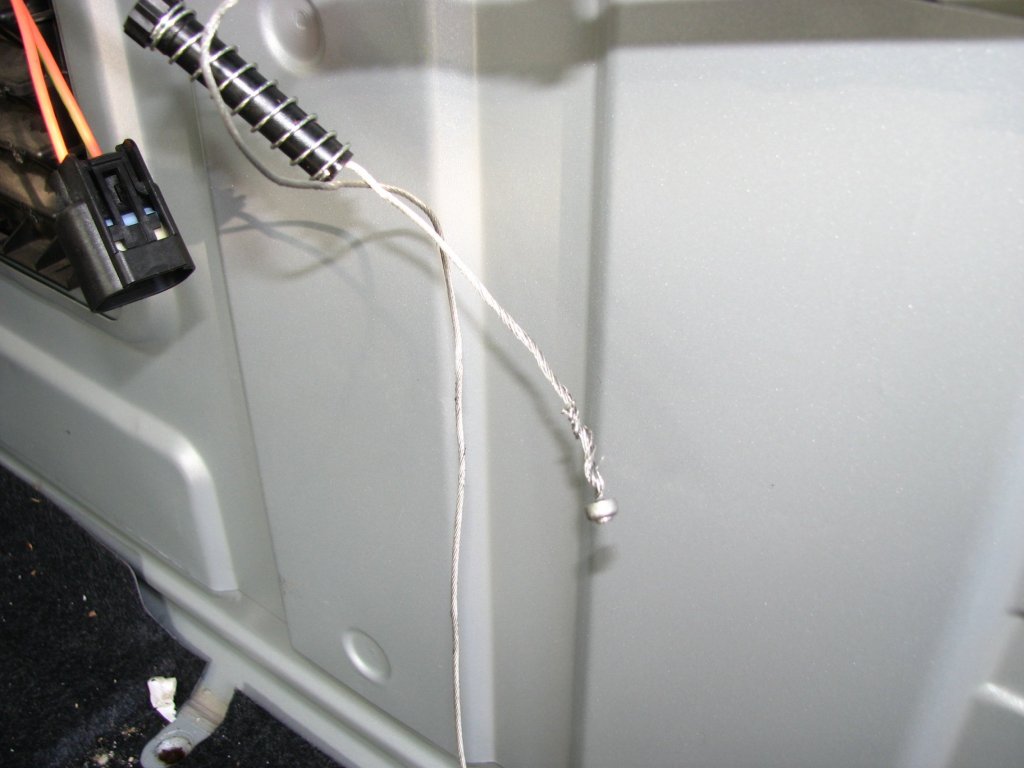
Dodge's use of plastic for where the cables attach to the glass
was a pretty poor materials choice. In my case, when the cable
attaching tab broke, the cables wrapped around the motor shaft
and bound the motor up tight. Trying to work the switch back and
forth before I knew what had happened made the situation worse
and ruined the plastic spool that the cable winds up on. In hind
sight, as soon as the window didn't move, I should have stopped.
However at four AM on a sleeting icy morning, getting the window
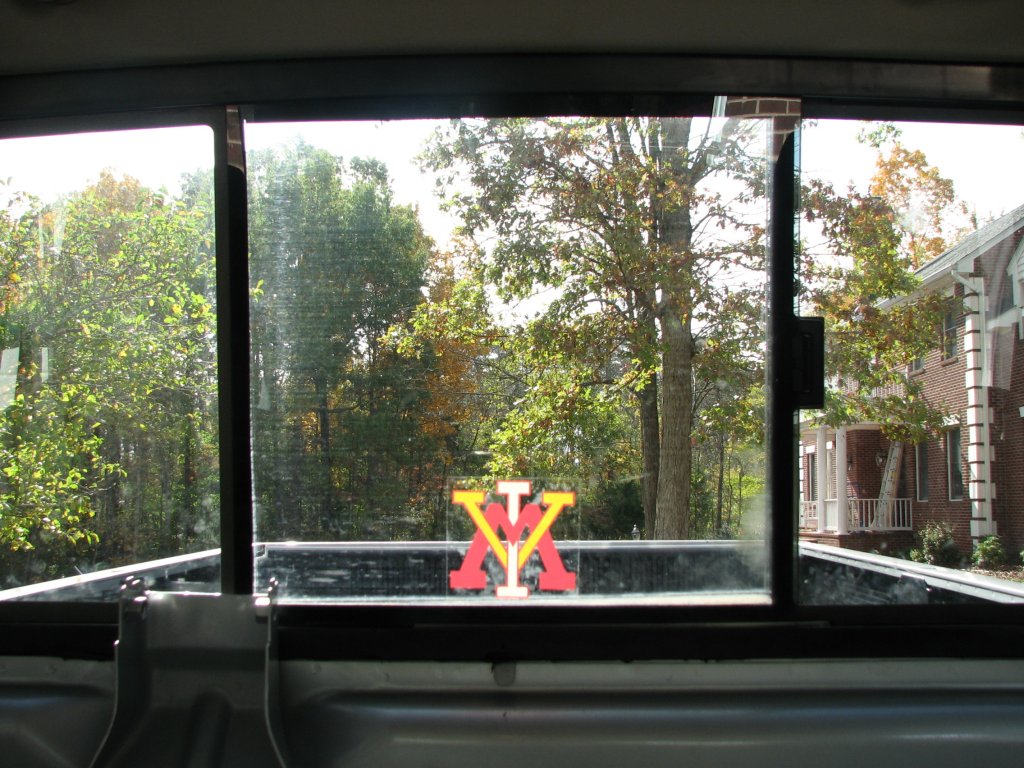
closed was the only thing on my mind. The only reason I opened
to window was to get a clear view of the driveway behind me so I
could back out and get to work.
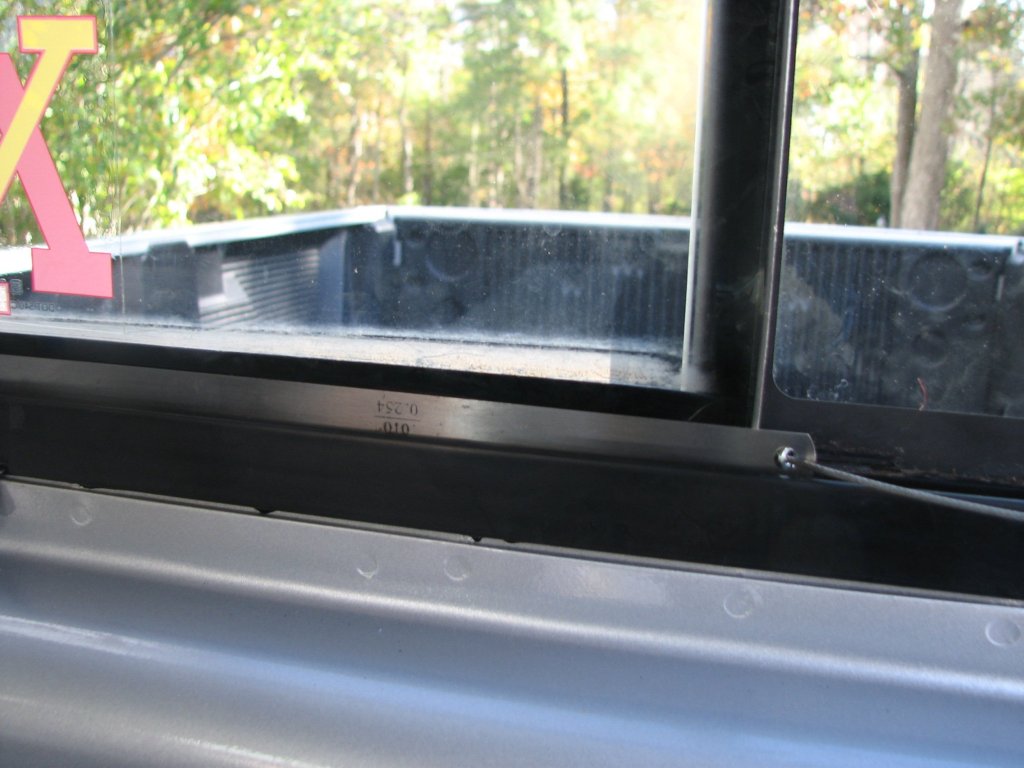
I ended up prying the
window closed. This actually pulled the window out of the lower
tray that is used to pull it back and forth. I got it shut and
now only open it manually if in dire need. I kept thinking that
one of these days I would take a look at it, but it took five
years for that to happen. It turned out that I had the truck in
my shop the other day because the check engine light had come
on. Codes P0541 and P2069. I had gotten lucky and found a broken
connection at the air heater relay near the passenger side
battery. It had taken me less than a half hour to fix the check
engine light and I had planned to be in the shop for most of the
day. Why not take a look at the sliding rear glass?
 |
 |
|
|
|
Removal of the power
rear slider is not covered in my Dodge repair manual. However, I
had found a PDF
of instructions for installing the power slider posted on a
forum a few years ago. To gain access to the motor and cables
isn't a tough job, but you do have to disassemble a lot of the
rear interior of the quad cab to get to it. I have split 60/40
rear seats, so there are eight bolts and four nuts to remove the
seats and the storage cover panels. The bottoms of the eight
bolts protrude below the truck and are subject to road spray.
Once I started unscrewing the first bolt and found it very hard
to turn, I crawled under the truck and hit all of the bolts with
PB Blaster. This made the remaining bolts a little easier to
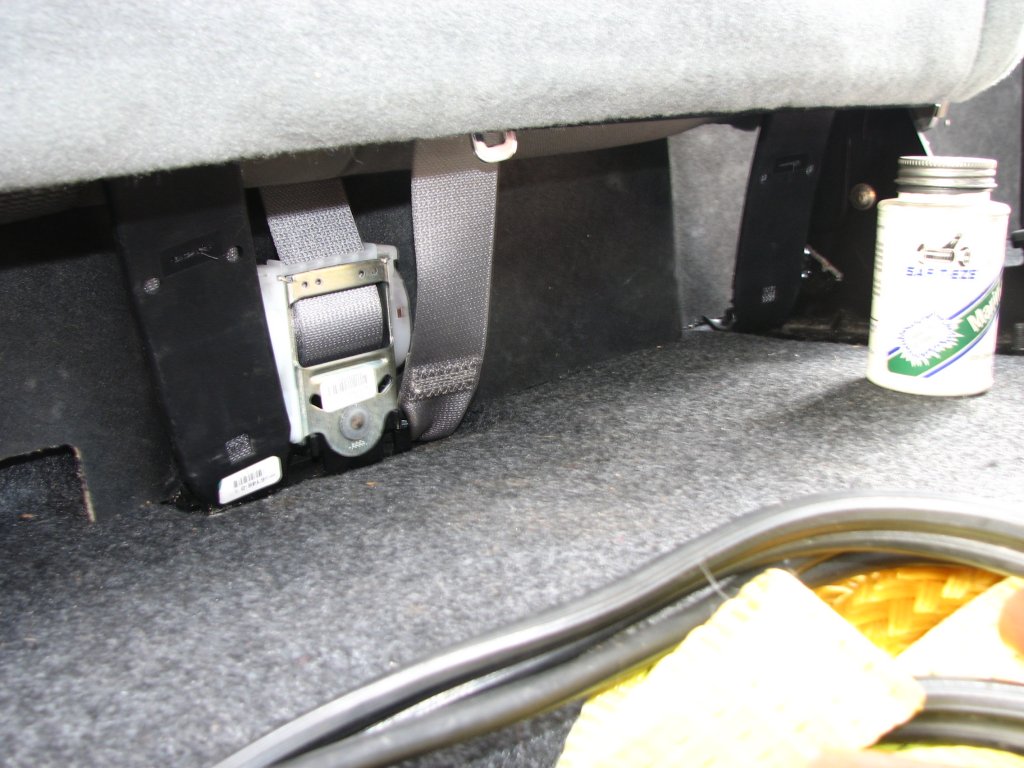
remove. You also have to remove the seat belts and a couple of
plastic panels on the C pillars to gain access to the large
piece of trim that covers the inside rear of the cab and the
motor/regulator. There are a couple of Torx bolts for the seat
belts. If I recall correctly, the size is TX50.
When I finally got
everything out and had it stashed in the shop, I could take a
look at what had happened to my window. The plastic clip on the
tray that pulls the center window closed was broken off. Since I
had not been able to find this individual part (center glass
tray) when the window tab broke five years ago, I would
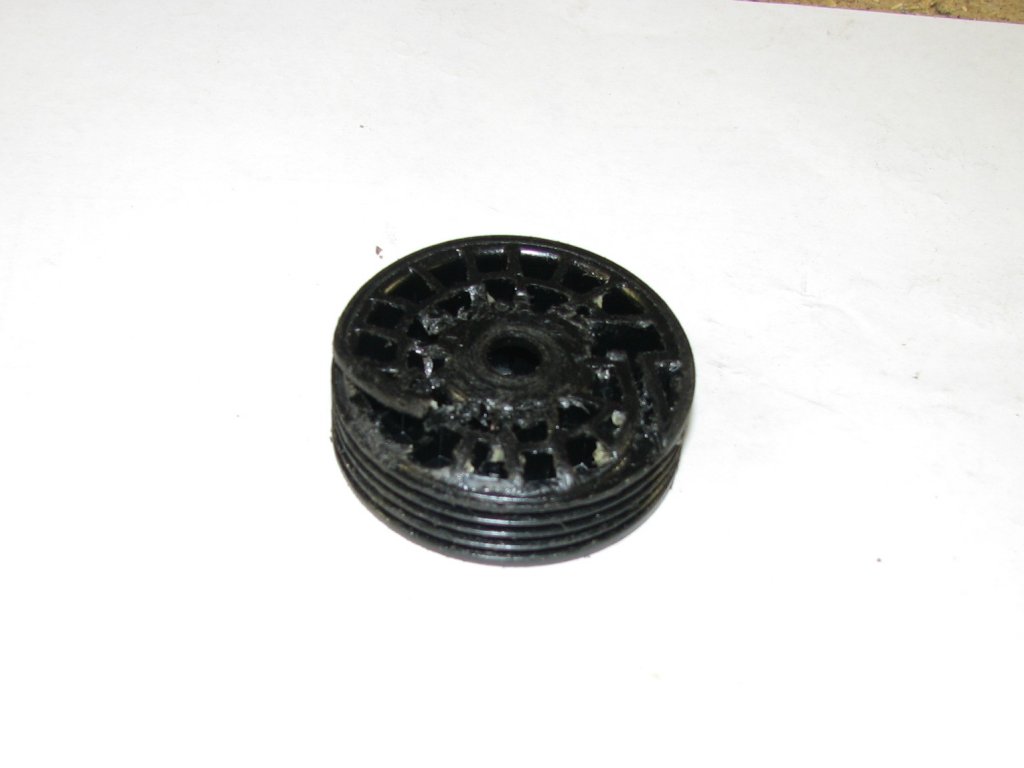
fabricate something to fix this. The bigger problem was found
after disassembling the motor/regulator assembly. The regulator
works by using a 2" diameter spool with grooves cut on to the
outside of the cylindrical spool. The cables enter from opposite
sides and while running, the spool winds out cable from one side
as it winds in the cable from the other. Pretty simple and
pretty foolproof if the spool can take more force than the motor
can produce. Being plastic, this is not the case. When the force
of the steel cable got to be too much, it sheared the end of the
spool off and wound the cable around the motor shaft. I had two
kinked cables as well as a ruined spool.
 |
 |
|
|
|
The situation didn't
look good. I searched the web for parts to repair the regulator
and all I came up with was an Ebay listing for a used
motor/regulator/cables. Since you can't tell the condition of
the spool and cables without taking the regulator apart, there
was a chance that $85 would buy me someone else's ruined
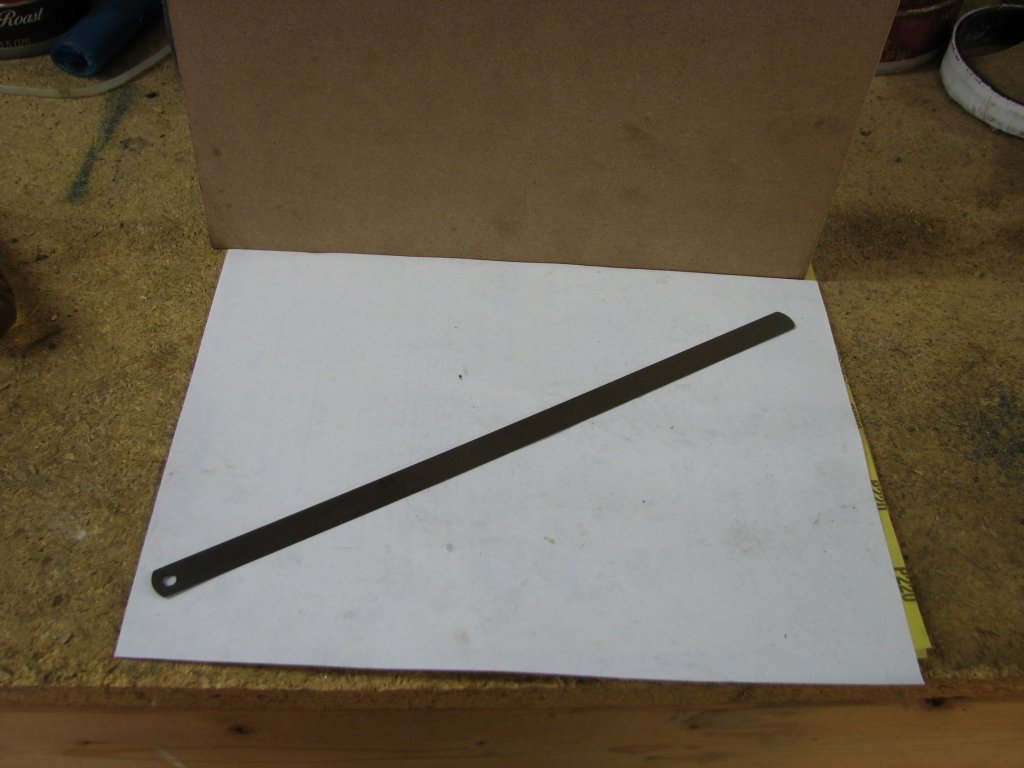
regulator. No thanks. Thus began some DIY engineering. Could I
fix it? Maybe. I'd need to make a new spool. I'd need to
straighten the cables and I would need to figure out a way to
attach the cable to the driver's side of the sliding glass. It
would take some time to measure and draw up some plans, but I
thought that I had a better than 50/50 chance of getting it
working. The other options weren't real attractive. Even though
I don't use the window much any more, I do open it manually for
carrying long pieces like baseboard molding if the need arises.
I guess that I just didn't want to put it all back together and
admit defeat.
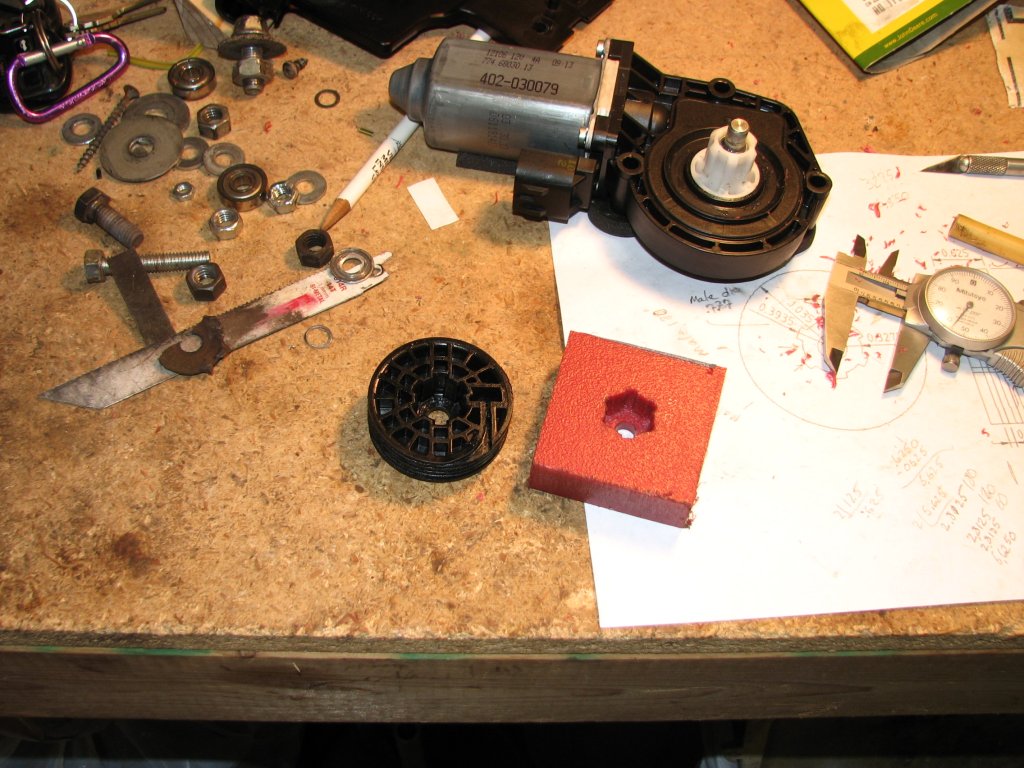
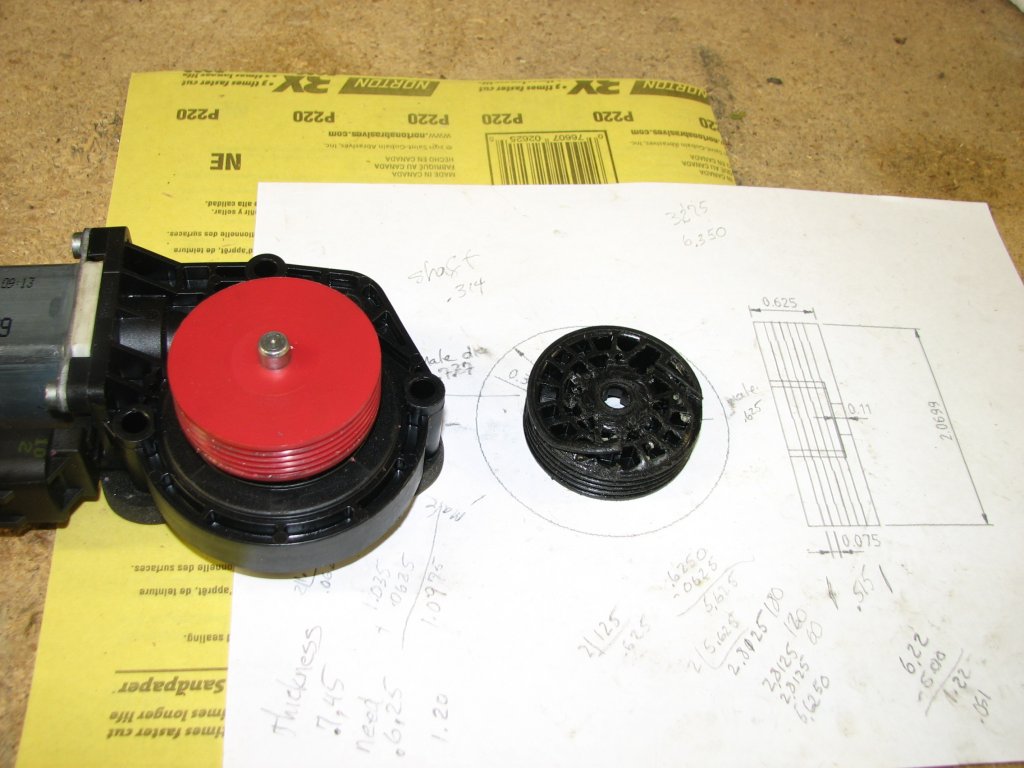
I drew up some plans, a
quick sketch in LibreCAD that took a little longer than I
planned. The regulator and motor are metric, but I converted to
inches because my machining tools support it. The motor shaft
appears to be 8mm, but we'll call it 0.316" since I'm using
inchesl and I have a letter drill bit, size O, in this diameter.
I drilled a hole in some plastic and test fit it on to the
shaft. Nice and snug. I chose to make the new spool out of HDPE
plastic as I had some in about the correct thickness. This is
the type of plastic used for kitchen cutting boards and I've
purchased a bunch of these boards in different colors. I
considered using aluminum, but I figured that the HDPE would
deform a bit under pressure and handle the kinked cables better
than aluminum. The spool is about 5/8" wide and my plastic was
3/4" thick so I would need to shave it down a bit, but that's
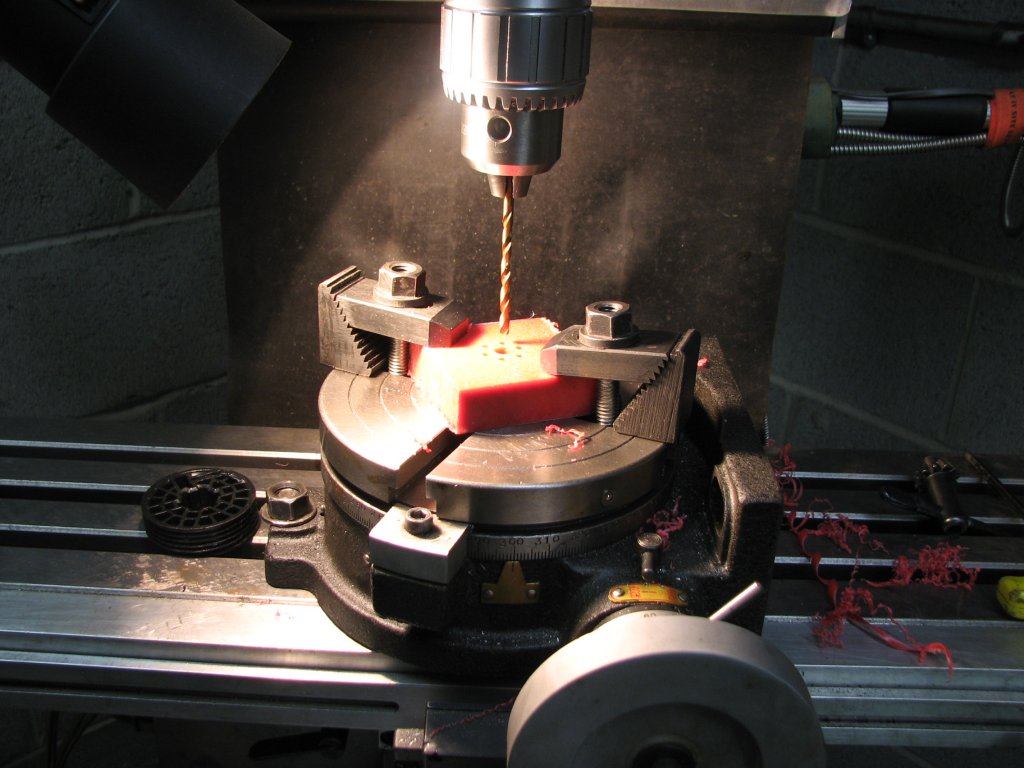
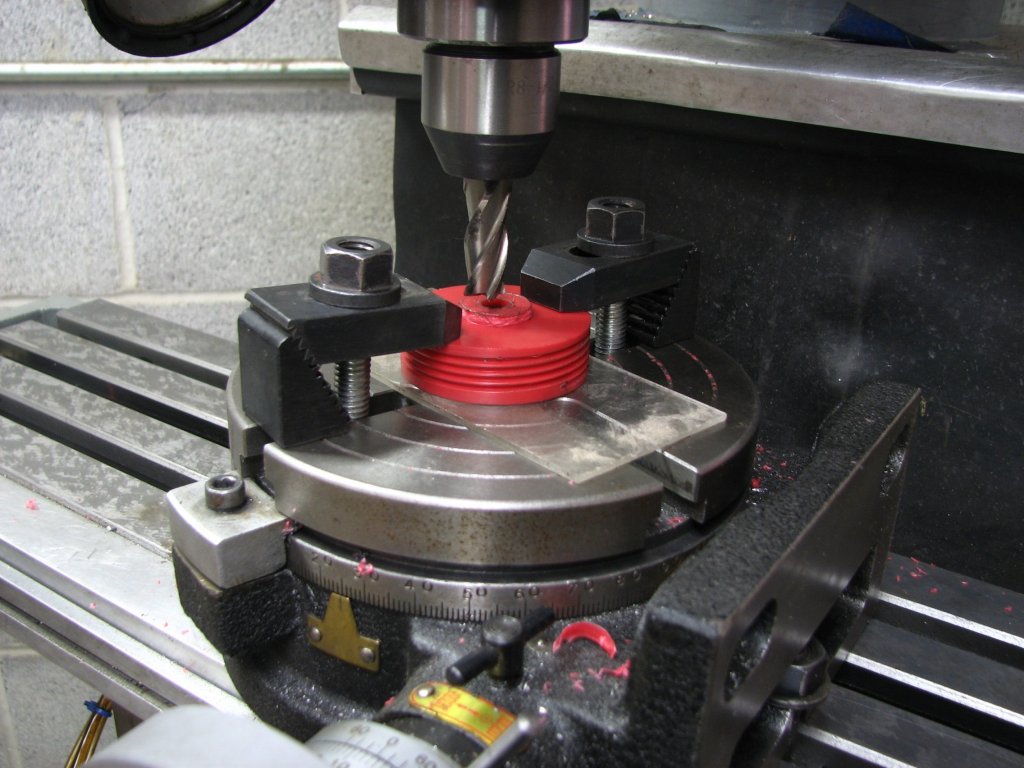
not much of a chore. I started work. After drilling a 0.316"
hole, the next step was to set the plastic up on a rotary table
on my milling machine and get it centered. With this done, I
drilled six holes 60° apart that would become the outside of the
splined shape that fits the motor shaft. I then bored a hole for
the smaller diameter of the splined shaft. A little work with a
thin wood chisel to turn the six round holes to rectangles and I
had a hunk of plastic that fit the splined shaft snugly. At this
point in the fabrication, I have no clue if it will work, but
I'm in the mood to try it anyway. This project is a nice break
from working on our home.
I have been working on it for a couple years without many breaks
and any excuse to get some shop time is welcome.
 |
 |
|
|
|
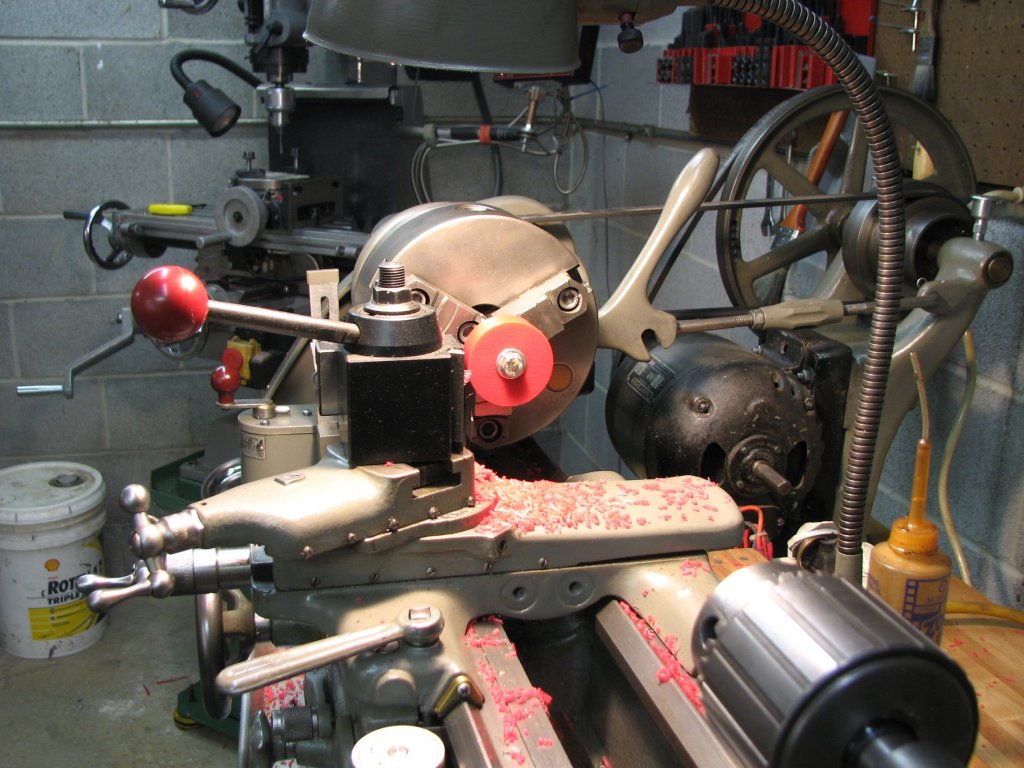
Day 2 - lathe work. I
made a mandrel to hold the plastic square using an 8 mm bolt,
some washers and some nuts. I chucked this up on the lathe and
turned the diameter to 2.07" - about 52.5 mm. Working with HDPE
plastic is kind of fun. The stuff turns like butter. The only
thing I dislike is that even with very sharp tools, you get a
little flashing that needs to be removed with a razor knife. I
get a lot more flashing on the mill than the lathe, but that may
be indicative of using milling cutters that aren't quite as
sharp as I can make my lathe tools. I am using high speed steel
lathe bits that have been sharpened on Arkansas whet stones and
they're darn near sharp enough to shave with.
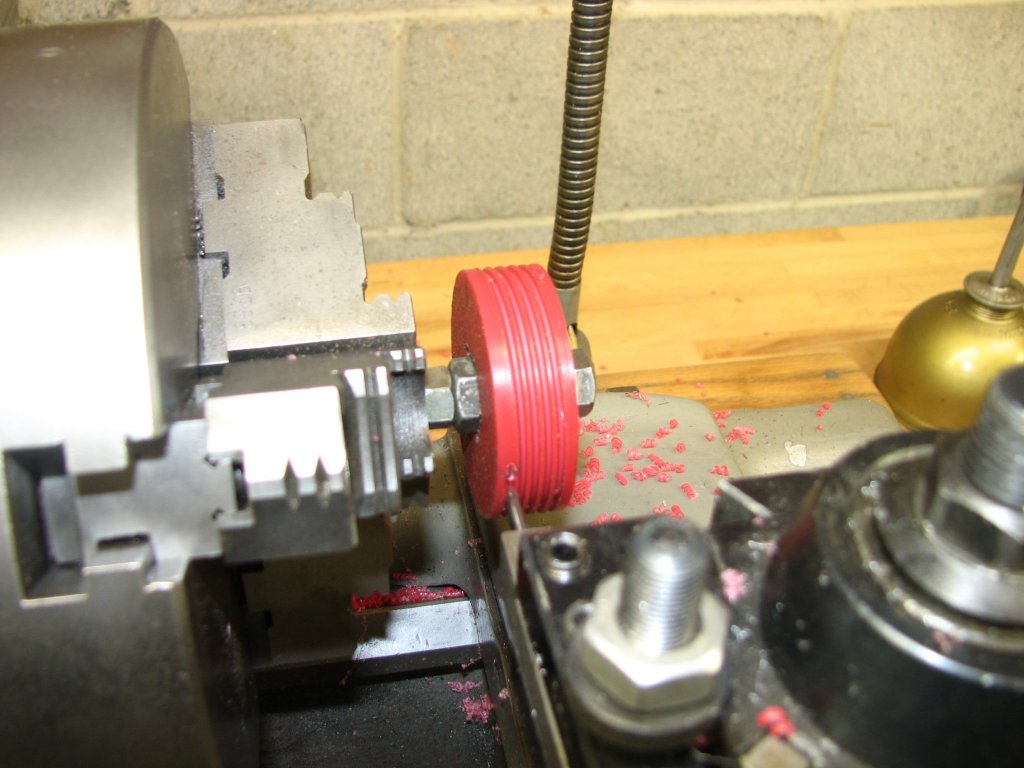
Adding the threads to
the outside of the spool required me to form a new cutting tool
with the correct shape. Rather than cutting threads with a 60° V
shape, the cable required a U shaped channel. I ground a tool
from a broken 1/8" milling tool bit and reduced the profile to
about 0.090". I gave it about 5° of rake and sharpened the tip.
Rather than doing the threading under power, I turned the big
pulley on the counter shaft by hand. I left the lathe in direct
drive so it would take fewer turns of the counter shaft to make
the 5 revolutions to cut the threads/channels. The original
spool had these channels formed about a tenth of an inch deep
and I did my best to copy the design.
 |
 |
|
|
|
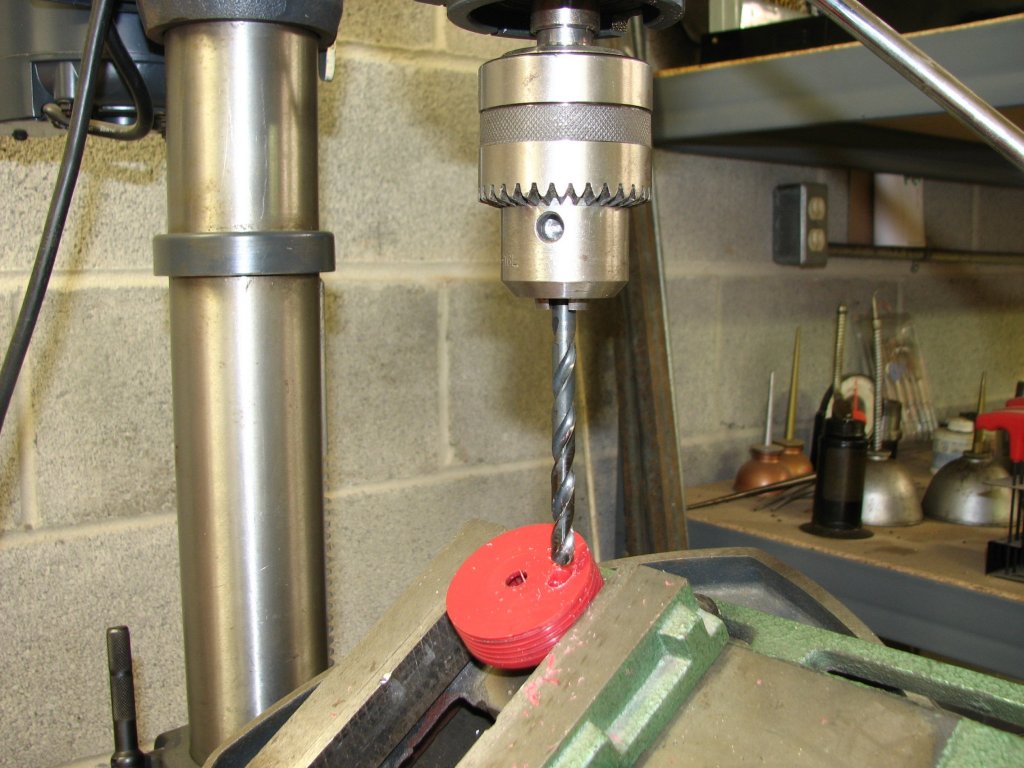
The last job on the
lathe was to narrow the spool from 3/4" to 5/8". Since I had a
bolt head sticking out of the center of the spool, I faced the
spool up to that area. The remaining button would be removed on
the milling machine. After I got the button removed, I compared
the two spools. The new one looked like a pretty good copy. The
next step was to drill the hole that would hold the cable ends.
On the original spool, there was a molded rectangle that passed
through the spool at an angle. The angle captures the cable end
and holds it tight under tension. I set my drill press table to
35° and drilled the hole by eye. From the newly drilled hole to
the threads, a channel for the cable needs to be cut on either
side of the spool. The threads don't quite make 5 revolutions on
the spool and and end about an eighth inch from the edge of the
spool. These two new channels need to intersect both the angled
hole and the end of each side of the thread. The channels also
need to have a slight curve so that the cables aren't kinked
making the transition from the side of the spool to the threads
on the circumference.
With the hole drilled,
it was back to the milling machine to cut the first channel with
a 3/32" bit. The second channel needed to be cut to 1/8" width
and depth due to the cable being frayed near the end. I had
re-twisted the cable the best I could, but it still looks pretty
ratty. The deeper and wider slot would allow the frayed end of
the cable to not drag along the spool housing. New cables would
have been a better option, but apparently they're not available
separately. For the transition from the side channels to the
threads on the circumference, I used a small bit on a hand held
rotary tool and made the radius free-hand.
 |
 |
|
|
|
 |
 |
|
|
|
 |
 |
|
|
|
 |
 |
|
|
|
 |
 |
|
|
|
© Fager October 24, 2014