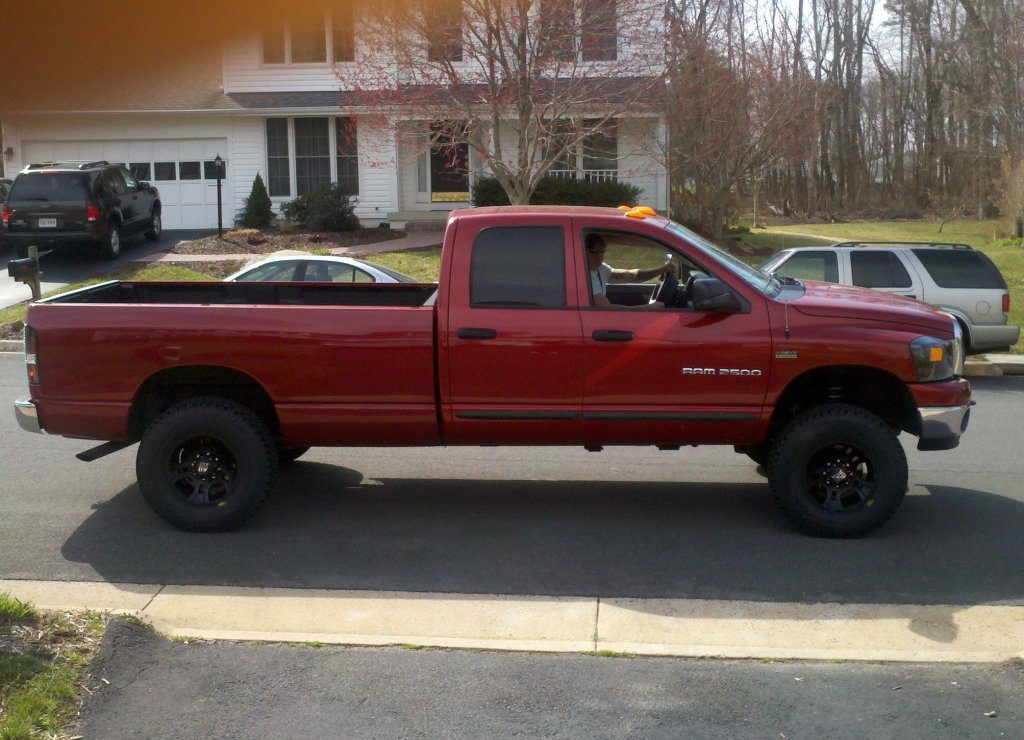
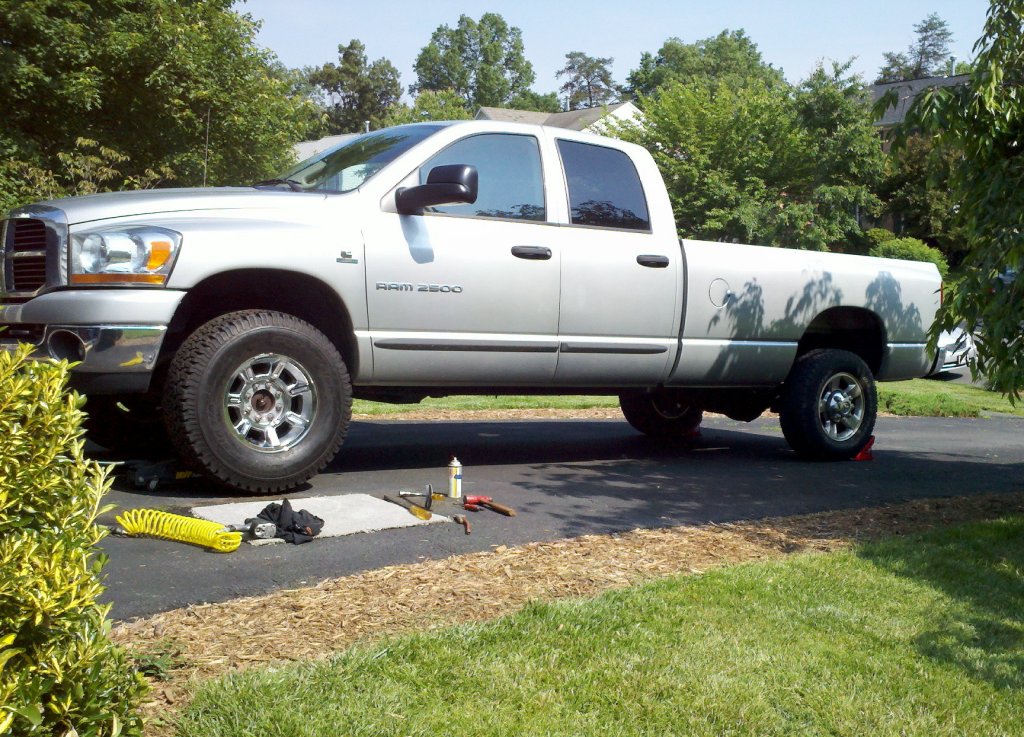
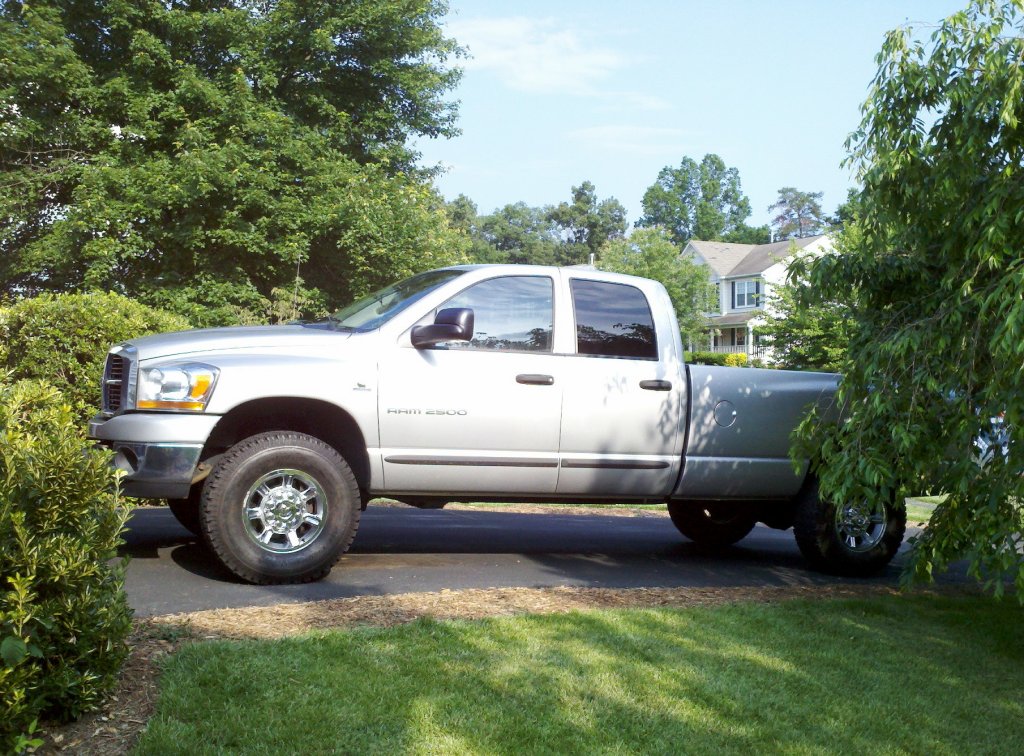
HOME


  Jim's Garage

Garage

Replacing a Dodge Diesel Oil Pan

Repairing a Dodge Ram
Air Conditioning and TIPM

Repairing a Jeep
JK AC Compressor Clutch

Repairing a Dodge
with the Death Wobble

Repairing a Dodge
Sliding Rear Window

Repairing a Deere 317
48" Mower Deck

Repairing a
Deere 301 Tractor

Rebuilding a
Deere 33 Tiller

Adding
power steering to a Deere 317

Adding a sleeve hitch, hitch rod and plow

Hummer rims for a Ram

Email Jim


Modifying Hummer H2 Rims to fit a Dodge RAM

I wrote this article as an after thought to give my views on a subject that seems to be well covered on the net.  Saying that it is well covered doesn't mean that I agree with everything I have read, so I have tried to touch on a few items that I think need some clarification.

Ever since I purchased this truck new, I've felt that it needed another gear. 6th gear just isn't tall enough to cruise comfortably at highway speeds.

The truck in question is an 2006 2500, 6 speed manual trans with the Cummins turbo diesel.  First gear is a creeper gear for getting the truck under way with heavy loads, so I rarely use it.  That leaves us with 5 speeds.  Two of those get used just to cross an intersection and when cruising around town at 35 mph, I'm usually in 5th.  Sometimes 6th. The Cummins does pull like an elephant, though. If you are in the sweet spot of the rather limited rpm range and mash the pedal to the floor, you can feel every one of the 600+ pound feet of torque. It's an impressive motor, but it just runs out of gearing.

I started researching options to give me a little lower rpm at highway speeds. Since it came with a 3.73:1 rear end ratio, swapping to lower numerical pumpkins wasn't possible using stock parts. This left three options.  Option 1 was installing an overdrive unit. 
There are a couple brands of 2 speed overdrives, but neither worked in 4X4 mode.  That in itself wasn't a deal breaker as you could switch out of overdrive when you needed the front wheels engaged, but it is a rather inelegant solution.  Option 2 was increasing the tire diameter.  Option 3 was to re-gear the pumpkins.  This may still be an option, but it is not cheap to do, so I don't want to have to do it twice.

Going with larger tires made more sense.  Especially as the larger tires fill the wheel wells better and give the truck a more agressive look.  The question then became a matter of how big of tires to go with.

I did some math.  I had found that the engine seemed most economical when kept under 2000 rpm, so that's what I based my comparrison on. 2000 rpm in 6th gear barely keeps me up with traffic in the slow lane of I66 in Northern Virginia.

2006 Dodge 2500 CTD with G56 6 speed manual transmission
6.29:1 first gear ratio
3.48:1 second gear ratio
2.1:1 third gear ratio
1.38:1 fourth gear ratio
1:1 fifth gear ratio
0.79:1 sixth gear ratio
5.74:1 reverse gear ratio
3.73:1 axle ratio
Equation for engine rpm = vehicle speed
Eng RPM / gear ratio / final drive X (Pi X diameter in inches) X 60 minutes / inches in foot (12) / feet in mile (5280) = vehicle speed in MPH

Tire Choices:
Goodyear Rugged Trail (stock)/E 31.5 diameter (98.96 circumference)
2000 / 0.79 / 3.73 X (98.96) X 60 / 12 / 5280 = 63.6 mph

Goodrich  TA - KO LT315/70R17/D 34.6 diameter (105.4 inch circumference)
2000 / 0.79 / 3.73 X (105.4) X 60 / 12 / 5280 = 67.74 mph

Goodrich  TA - KO 37x12.50R17/D 36.3 diameter (114.04 circumference)
2000 / 0.79 / 3.73 X (114.04) X 60 / 12 / 5280 = 73.29 mph

While the 37" tires would give me much more speed at 2000 rpm, the downside to using them included having to lift the truck to fit them and the fact that it was just too big of a jump. I figured that having to turn a tire that large and heavy would severely affect performance and fuel economy.  The 315s appeared to be a better choice.  My reason for choosing the Goodrich TA was based on having them on my last two trucks and liking their performance.  They are pretty quiet and gave me good wet weather traction.  Their performance in snow was acceptable and they wear pretty well.  The "D" load rating is a bit of a hinderance, but not so much for the driving I do.  I usually drive the truck empty and rarely load or tow near the maximum rating.  I'll keep the stock wheels and tires which have about 40k on them and half their tread remaining for when I need to load the truck heavily.

The next question I had was what rims to go with.  My son, who has the same year Hemi Ram as my diesel, just replaced his worn out tires with some Goodrich TA KO and some XD Series XD801 rims.  He decided on a
9" rim with 5" backspacing.  8.5" rim width is the minumum listed width that the 315/70R17 is supposed to be mounted on. The stock rims were 8" wide.  In the past I've run 1/2" less than the specified rim width with no problems, but it does tend to put a little extra crown into the tread.

While reading up on wheels and tires, I came across a number of folks who were using Hummer H2 wheels.  Since these were usually purchased used, the cost was lower and the value was good.  Being in no hurry, this seemed like a good way to save a little cash and get to try out the 315s. There are a couple issues that need to be addressed when using the H2 rims.  One is the center hole is too small to mount on the Dodge and two is that unless you want to use the Hummer center caps, you need to modify your Ram center caps to fit the H2 wheels.

Here are the specs on the stock 5 spoke alloy rims and the Hummer H2 alloy 7 spoke rims
2006 Dodge OEM Alloy
Size: 17" X 8"
Offset: 43.18mm (1.700") positive
Backspace: 6.25"
Center hole: 4.774"

Hummer H2 wheels have the following dimensions:
Size: 17" X 8.5"
Offset: 18mm (0.709") positive
Backspace: 5.563"
Center hole: appx 4.57"

Hub or lug centric?
Reading the Ram forums, I noticed a lot of conversations concerning hub or lug centric wheels and why hub-centric is better than lug-centric.  There seems to be a little bit of misinformation out there about this topic in general. The size of the center hole has little to do with mounting the wheel on the lugs.  The only time the center hole really matters is when it is machined or cut off center and you are trying to balance the wheels and tires using a cone type adapter on a wheel balancing machine.  If the hole is off center, the tires will not balance correctly. If the holes are cut incorrectly, you or your shop can still balance the wheels using a lug adapter which bolts to the wheel in the same way you mount your wheels to the vehicle hubs. Another 'old skool' but very accurate method of balancing is to use an on car balancer. These balancers spin up the tire on the vehicle and the balance is achieved through the use of an adapter which clamps to the rim or a sensor arrangement to read the harmonic. These balancers are really good for balancing all of the turning mass on each axle and can get rid of vibrations that off-the-car balancers have trouble with.

On the RAM, the wheels are held in place and centered by the 60° cone of the lug nuts and corresponding bevel on each lug hole on the wheel. It doesn't matter if the wheels have a 4.768" center hole or 5".  The dodge hub is about 4.767" in diameter. Unless you machine the center holes to be an interference fit on the hub
(no space at all between hub and center hole) , there will be some space between the hub and center hole of the wheel. Having this space will not cause problems. You have 8 lugs holding the wheel securely. You can check this for yourself when you take off your stock Dodge rims. I think you will find that unless you drove with loose lug nuts, you will not find any evidence that the center hole of the wheel ever contacted the outside of the hub center while driving.  What the close fit between the OEM wheels and hub center does do is give you a place to hang the wheel and align the lugs as you mount the wheel to the truck.  Given the weight of the 315 tires, this is a good thing.  For those who have never mounted a wheel, you don't want to tighten one lug nut down to full torque with the others still loose. The correct procedure is to first run all of the nuts down to finger tight, then torque them to about 20 to 40 foot pounds, then 80 to 100, then full torque. Tighten the first nut, then the one across from it, then move to the nut beside the first, then the nut across from the second. Repeat until all 8 are done, then repeat for each of the torque settings.  Tightening the wheel in stages allows the wheel to seat flatly to the hub face and have less chance of distortion. The 2006 RAM 2500 lug nut torque spec is 135 foot pounds. Make sure that both the lug nut cones and bevels as well as the hub face and rear of the wheel are clean and dry.  A small amount of anti-sieze on each lug stud helps to prevent thread galling and makes it easier to remove the lugs if you get a flat tire on the road.  Some folks will tell you never to use anit-sieze on wheel studs, but in my 20+ years of automotive service, I never saw a wheel come loose because of using anti-sieze.  On the flip side, I've seen plenty of stuck or buggered up lug nuts / studs from corrosion.

Backspacing
When the engineers designed the truck, they set the backspacing to center the weight of the vehicle on the rim. Having the weight concentrated too far inboard or outboard will stress the wheels and the axel bearings. The best advise is to keep the wheels centered as close as you can to what the engineers had in mind.  That said, if you go to a wider rim, the backspacing needs to take the rim width into consideration.  The other (lesser) consideration is that you probably want to minimize rubbing due to the wider tire profile.  For an 8.5" rim on the Dodge, 5.5" or so of backspacing is pretty close to the stock setup. The Hummer H2 rims have 5 5/8" backspacing. (I haven't added my front leveling springs yet and have no rubbing with the H2 wheels/tires on the stock suspension.)

Cutting the center holes.
Wouldn't you know it?  I have a milling machine and a lathe, but neither are large enough to handle the 17"
bare rim - much less a rim with the tire still mounted.  Apparently I need bigger toys.  So, I needed a way to enlarge the center holes.  I had read about a couple guys who had used a router to do the job.  The more I thought about it, the more I figured that it could be done with a pretty high degree of accuracy as long as I took some precautions. I decided to use a 3/8" carbide laminate bit to do the cutting.  The laminate cutting bit is 3/8" in diameter with a 3/8" outside diameter bearing on the end. When used for trimming laminate, the bearing is meant to rest on the edge of the counter and cut the laminate flush with that edge.  I'd use the same principle for cutting the center hole. The first step was to make sure that the base of the router was square with the bit.  If it wasn't, it would cut more on one side than the other as the router and bit was moved around the center hole.  Once I shimmed the router base to be as close to 90° to the bit as possible, I measured the distance between the rear of the wheel and the front.  The depth of the bit needs to be adjusted so that the entire thickness of alloy is cut on each pass.  On the H2 rims I purchased, the front side of the center hole has a bevel machined around it.  Since the router would be run from the back of the wheel, the cutter bit bearing would need to rest on this bevel. Exactly where you make the router bit bearing contact the bevel determines how much you enlarge the hole. I was looking for a center hole size that was large enough that the hub would fit through and provide enough room for the alloy to expand when it got hot. The maximum hole size I wanted was what the stock OEM wheel provided.  This is 4.774".

I set the edge of the router bit bearing to ride about 1/16" down into the bevel. I made sure that the router base was in flat contact with the wheel and took a cut.  Measuring with an inside micrometer, my center hole was now opened up to around 4.65". I used a caliper to set the bit depth a little deeper, which makes the bearing ride further down on the bevel, and tried again. By the third pass, I had opened up the hole to 4.74"  This is where I left it. To get a feel for how well centered the hole was, I measured between each lug hole and the center hole. Maximum difference on all 4 wheels was about 3 thousandths of an inch.  I hesitate to give the actual depth that the bearing needed to be as I'm not sure that all H2 wheels are the same as the ones I purchased.  I've read that at least one person has described a step rather than a bevel on the front side of the wheel. If this is the case, the laminate bit will cut the same size hole as the step diameter.  The only way you could change the size of the hole would be to increase or decrease the outer diameter of the pilot bearing on the cutter bit.

This brings us to another bit of information that seems to be often quoted in rim posts on the forums.  How concentric does a rim need to be?  I've seen posts stating that maximum
runout for rims should be 0.003" or less to make sure that the tires will balance properly.  That might be true if you are trying to hit the land speed record, but even then it is probably not necessary. Here's what the Dodge 2500 shop manual says:
Check the wheel radial and lateral runout.
And here's what it says about tire runout:
So instead of less than 3 thousandths, the actual recommendation is stated to be less than 2 hundredths of an inch of radial runout on the wheels.  That's a big difference.  In real life situations, I have seen wheels that exceed this spec by double and have no discernable vibration if the tires are properly balanced.  No, I am not recommending this.  Also, how much you feel the imbalance depends a lot on how tight the suspension components are.  To put this into perspective, the rims and tires I bought were sitting in a guy's garage for a year or more and the tread wasn't entirely smooth.  They had a little step wear (cupping) on what had been the front tires.  They run smooth as glass on my truck.  I will say that my truck's alignment seems to be spot on.  My Ram OEM tires with almost 40k on them are worn flat and true with about 1/2 the tread remaining.  Yes, I am pretty easy on the truck.

The last thing I needed to do was to cut down the Dodge center caps to fit on the H2 rims. I measured how deep the prongs that clip on to the lug nuts needed to be and the difference between the Dodge and H2 rims.  I came up with exactly 0.90" to remove from the outside of each cap.  I used a tall fence on my table saw to keep the caps the proper distance from the carbide tipped saw blade.  Once you've cut the ring off the cap, each prong needs to be cut or ground down to fit into the recess around each lug nut.  I did this on the bench grinder free hand.  I mounted a coupe lug bolts and lug nuts on one wheel so I could check to make sure that the prongs clipped firmly before I mounted the tires on the truck.  I don't need to see my hub cap chasing me down the street if it comes off.

Since I don't yet have a hoist to lift my truck off the ground. (That may be changing soon.) I swapped the wheels in the driveway.  The H2 wheels and tires are substantially heavier than the OEM ones. Having a properly sized center hole does make getting the wheels on the lugs much easier.

As of this time, I have only run about 1/2 tank through the truck.  The computer indicates about 1 mpg lower, but the speedometer has not been corrected for the larger tires yet. If I correct by multiplying by 1.065 (
105.4 inch circumference /  98.96 circumference), the computer indicated mileage is about the same as it was before the wheel swap. The mileage computer is also a bit optimistic in terms of mileage.  I have kept records of my [mileage / gallons used] since the truck was new and the cumulative average mpg is around 17.8, while the mileage computer shows an average of 19.1. I rarely get over 20 actual mpg unless I run nothing but highway, but can push it a bit higher if I keep the speed below 60.  These trucks do push a lot of air.

My thoughts on the new tire size so far are positive.  I do like the look of the bigger tires and the 4 miles per hour at 2000 rpm translates to a little more speed in each gear as I shift through the range.  I do feel the additional weight of the tires, but it's not a bad thing, it just feels a little heavier.  I'm looking forward to installing the Rough Country Leveling Kit [#9219] I have sitting in the garage to raise the front end level with the rear. We put these on my son's truck.  The front end started out being a little high when first installed, but they settle in after a few weeks and result in a pretty good match with the rear spring height. 

That's all for now.

Mikes Truck
half done
Mike's truck after tires and springs
Mounting the fronts
Center clearance
Done
Center hole to hub clearance
Wheels and tires are installed


Here are a couple links I found while researching this job.  Both have a few more pictures than I have provided.
http://www.getdieselpower.com/my04dodge_files1/h2/article/h2install.html
http://www.4x4spot.com/h2_rims_dodge_ctd.htm

© Fager 05-28-11