|
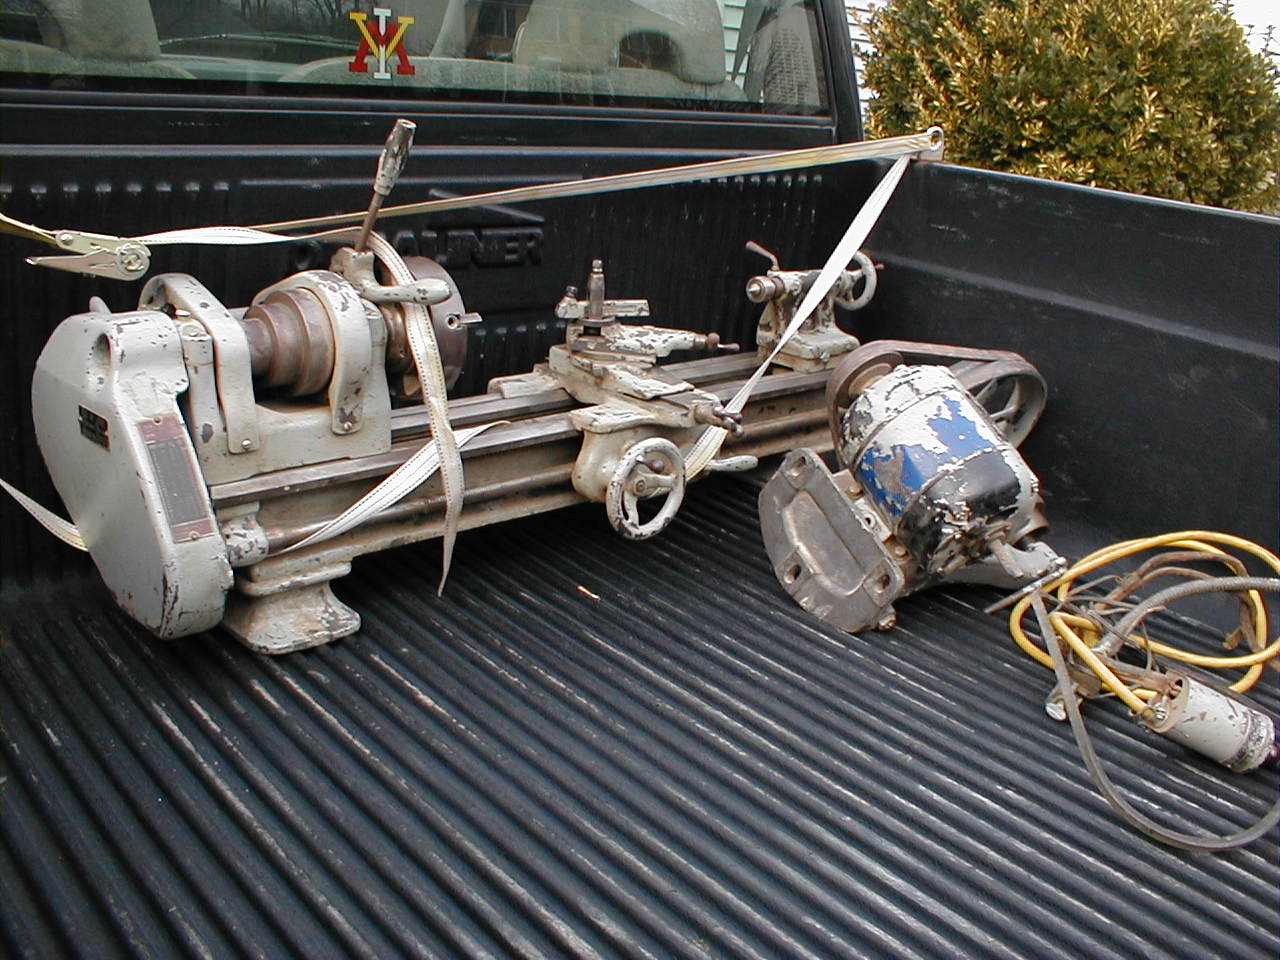
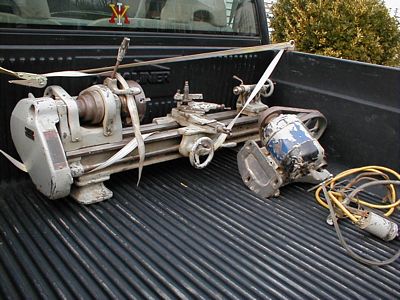
Unstrapping
the hold-downs for the new/old lathe.
|
|
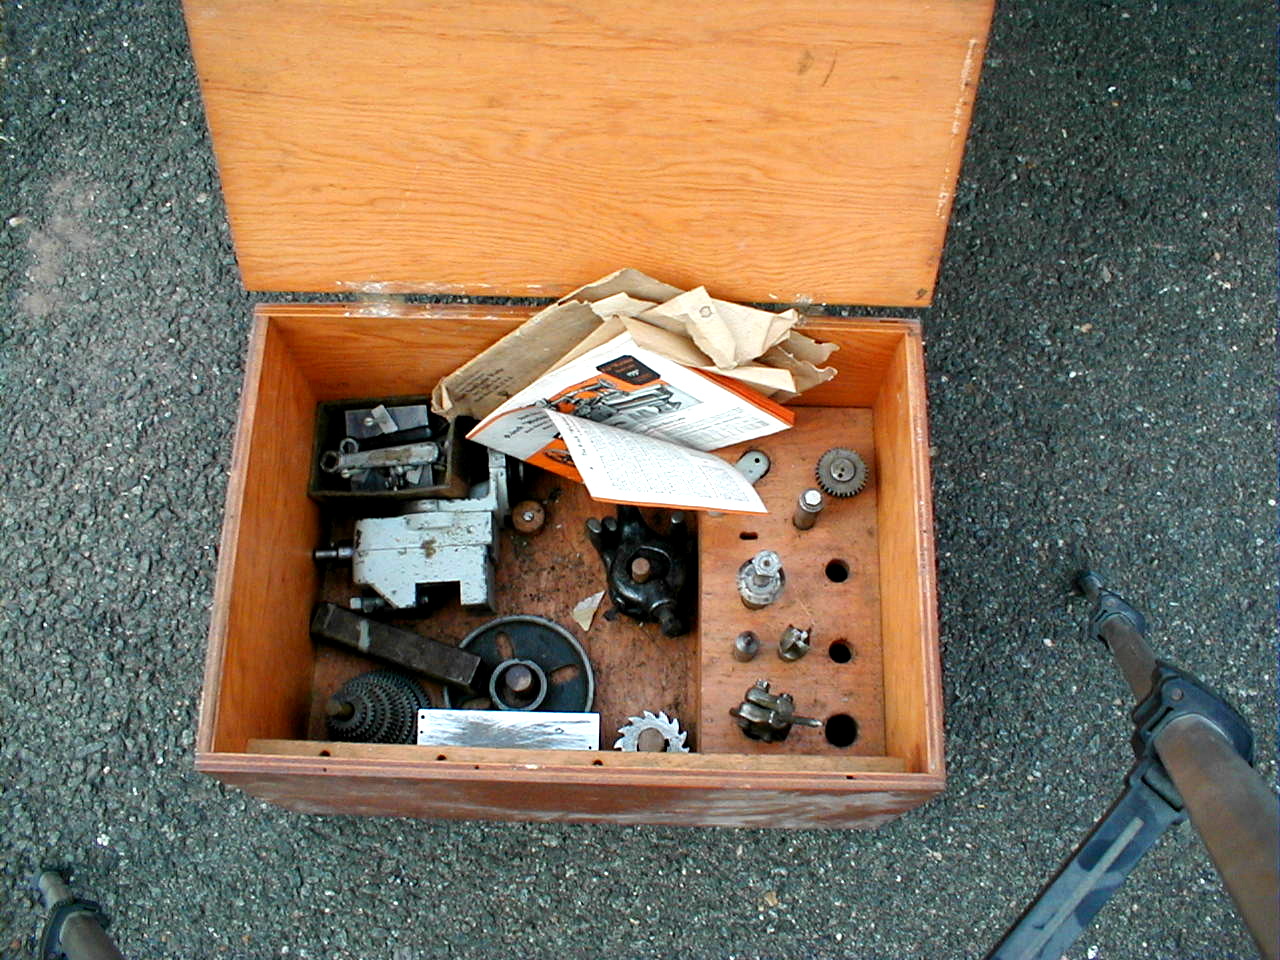
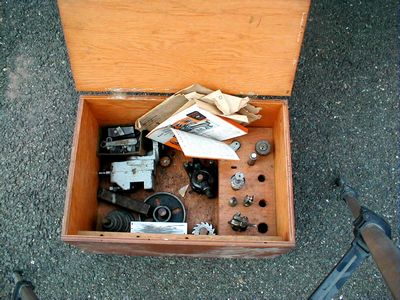
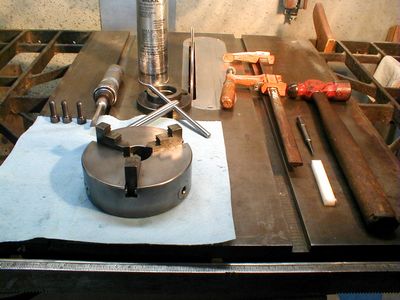
The
home-made box of parts and papers.
|
|
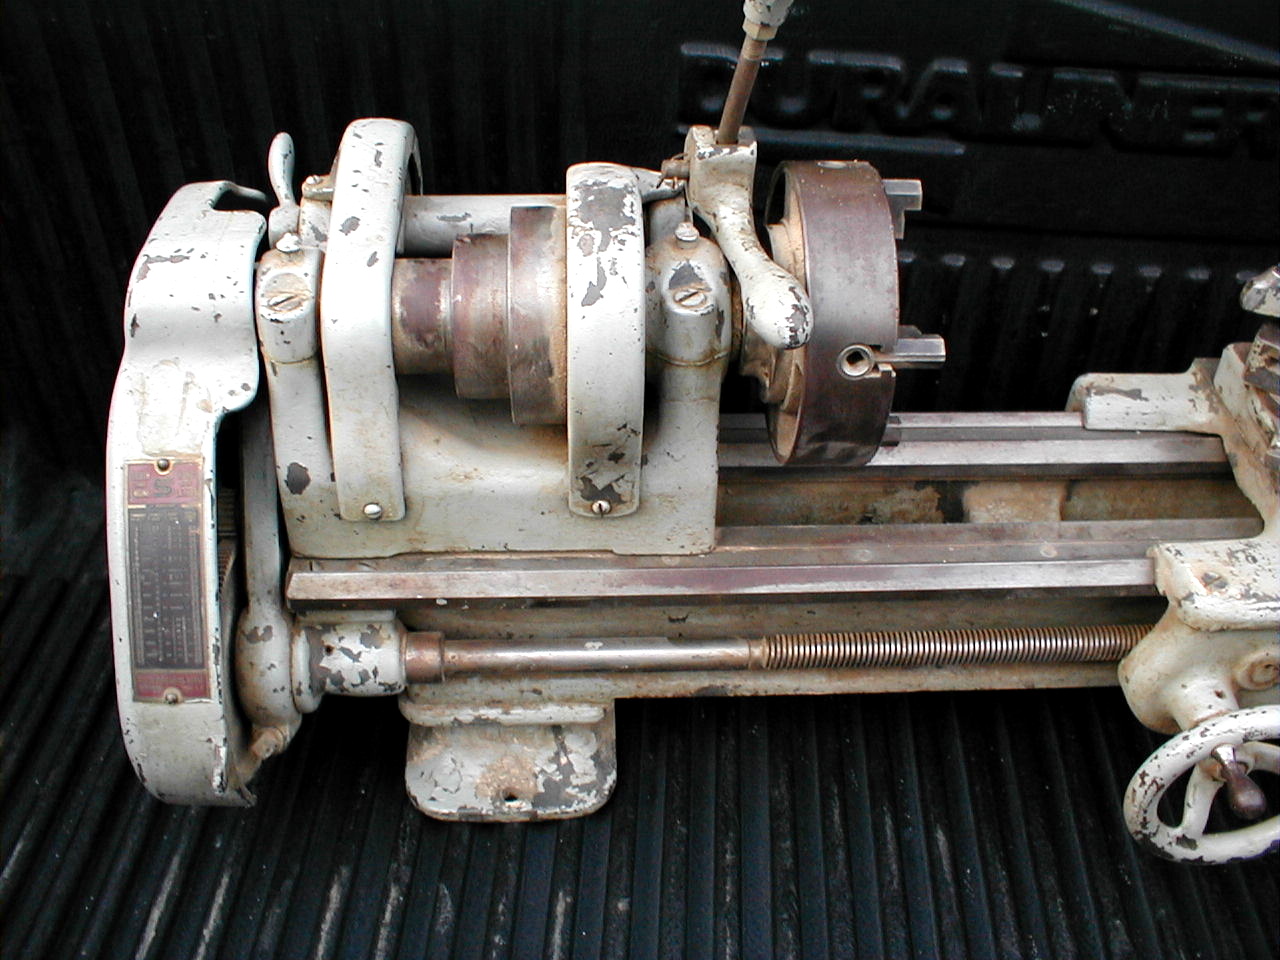
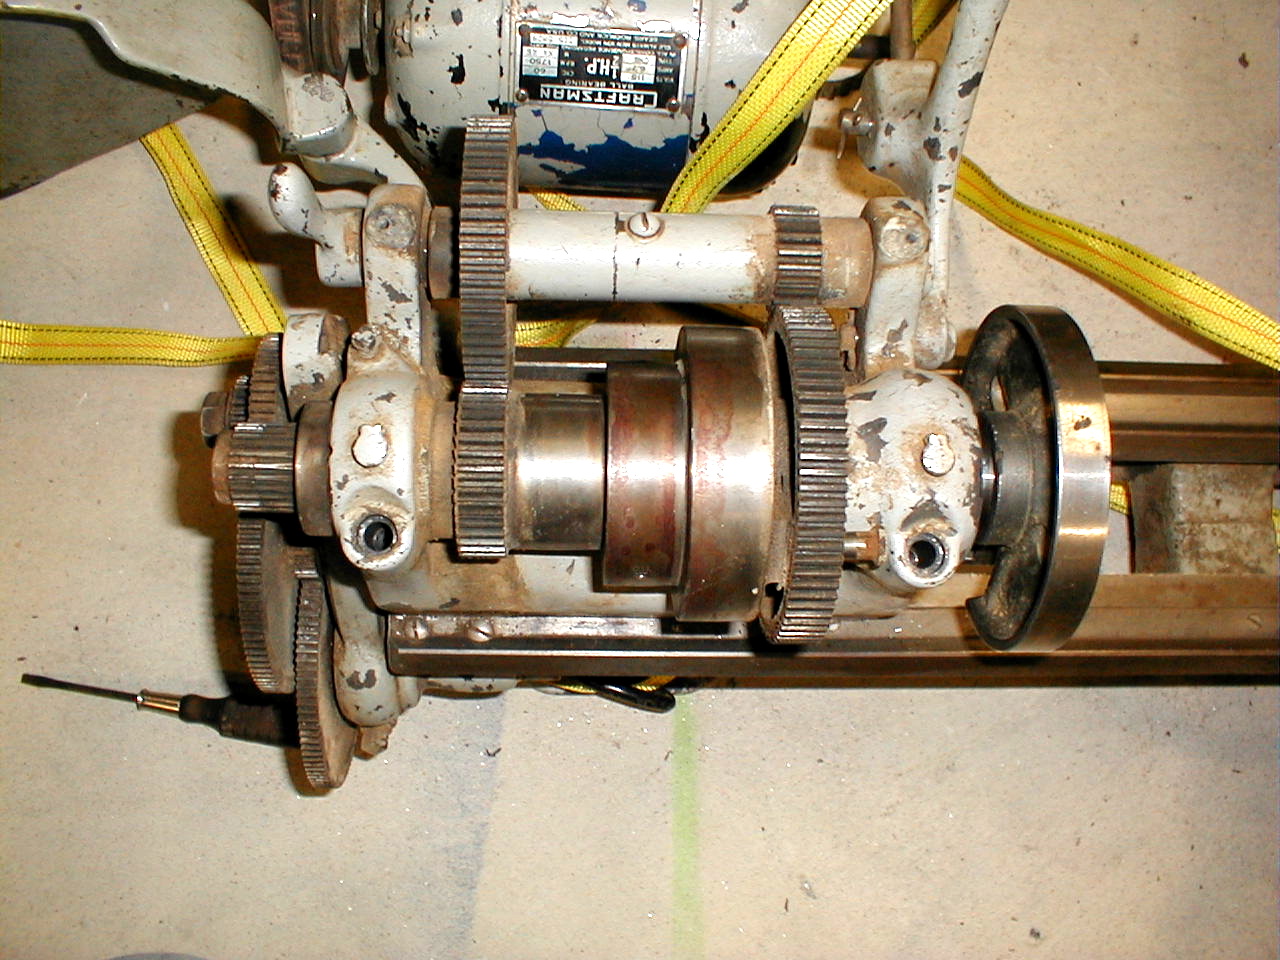
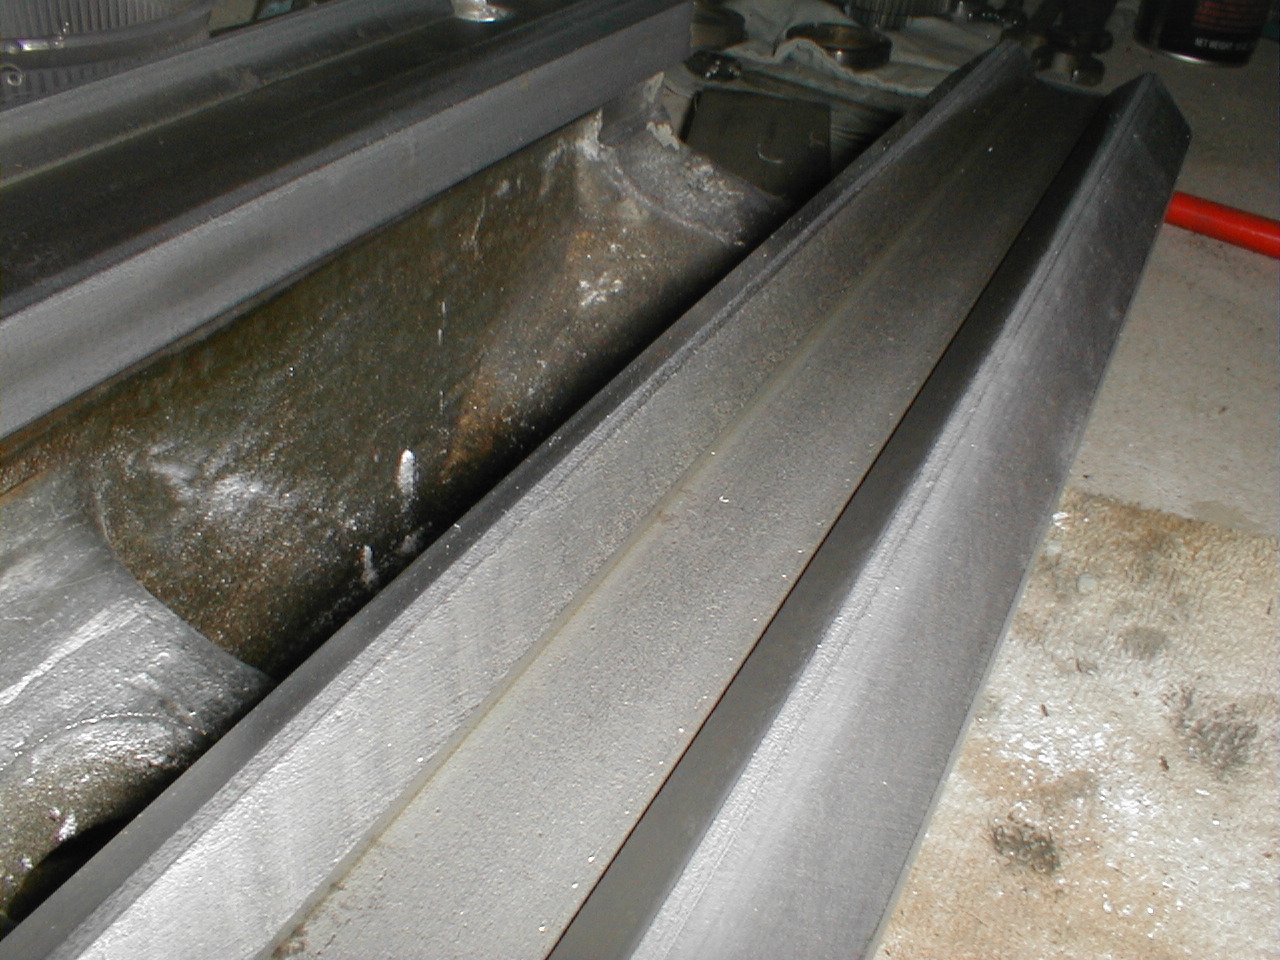
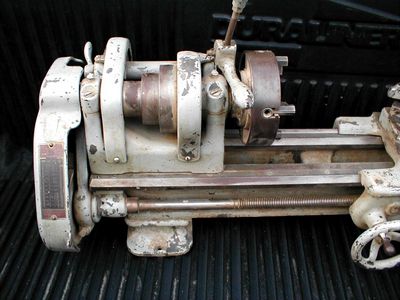
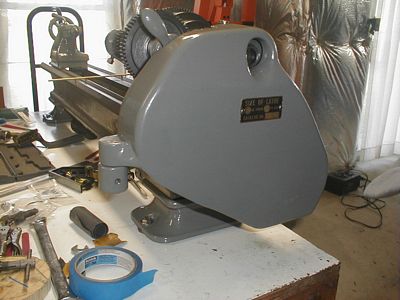
The
headstock view. Surface rust from Virginia's high humidity and
bare untreated steel that has been covered with sawdust.
|
|
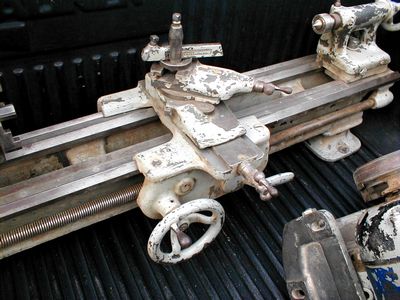
The
carriage and tail stock. I hope my paint sticks better than the
stuff he used. It is coming off in sheets.
|
|
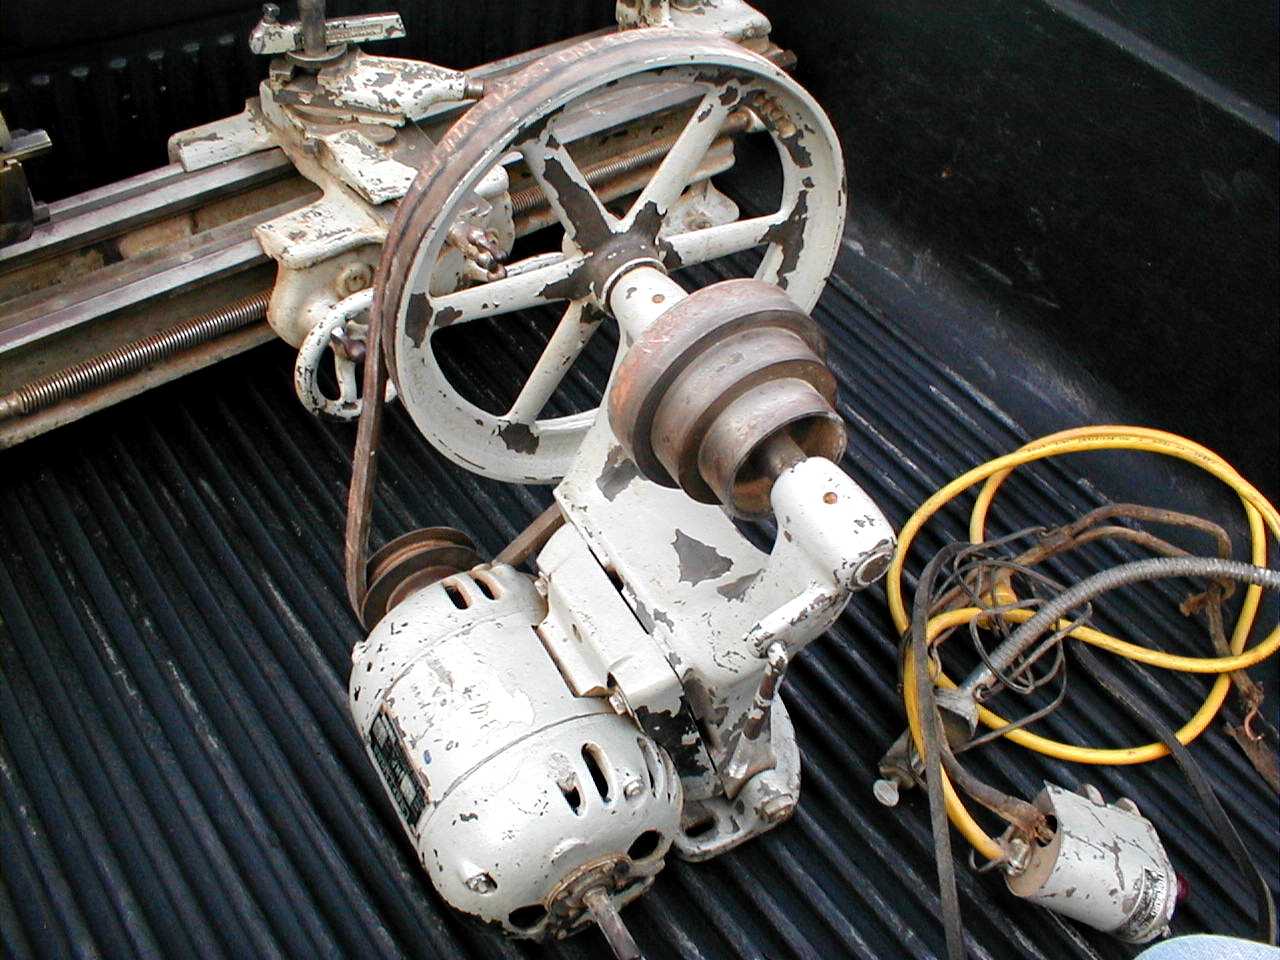
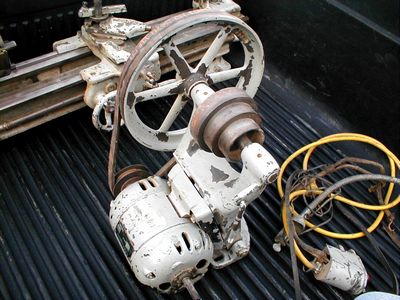
A
two-speed v-belt and 3 speed flat belt counter shaft.
|

|
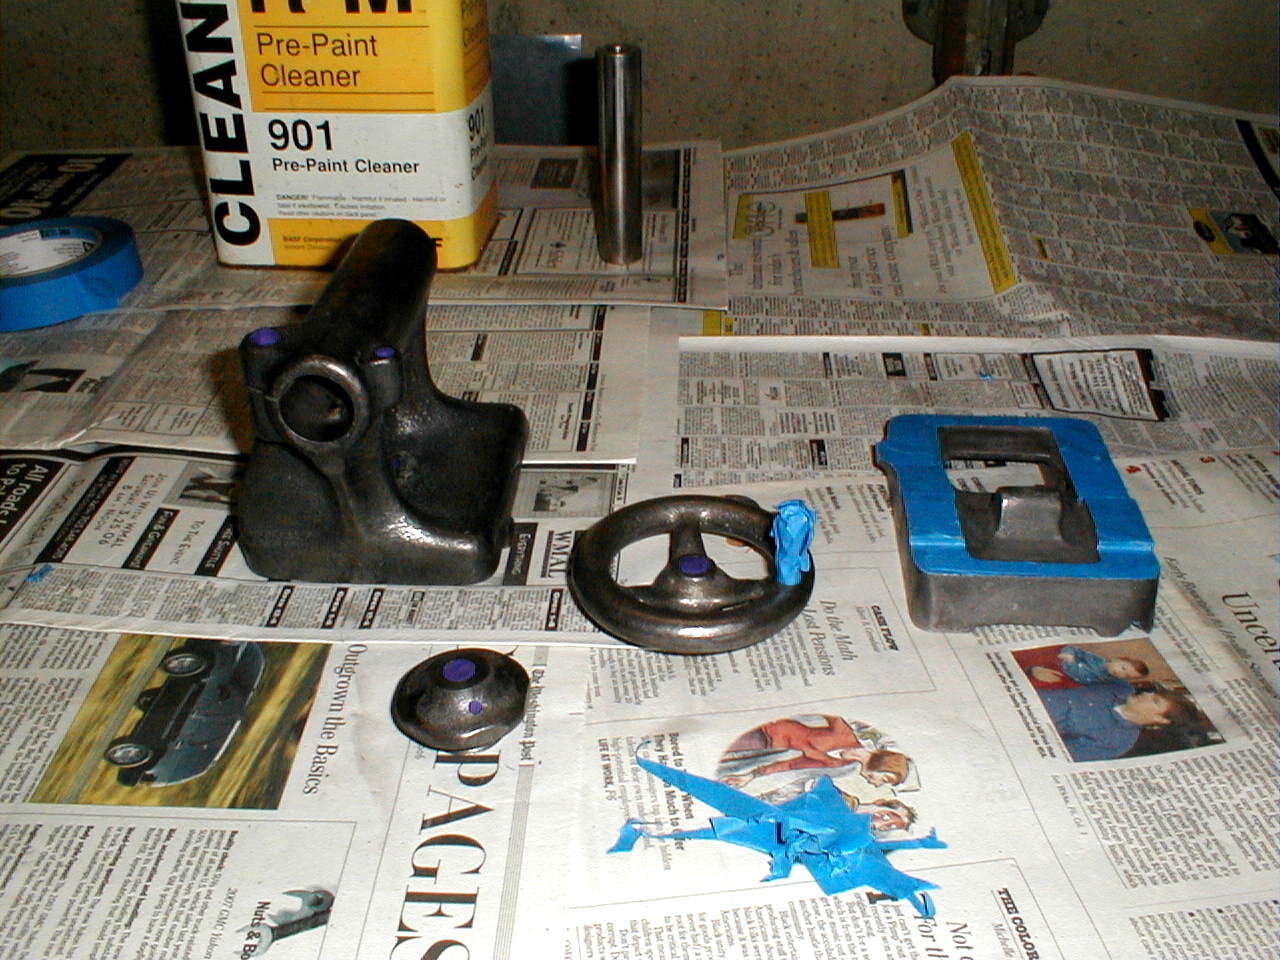
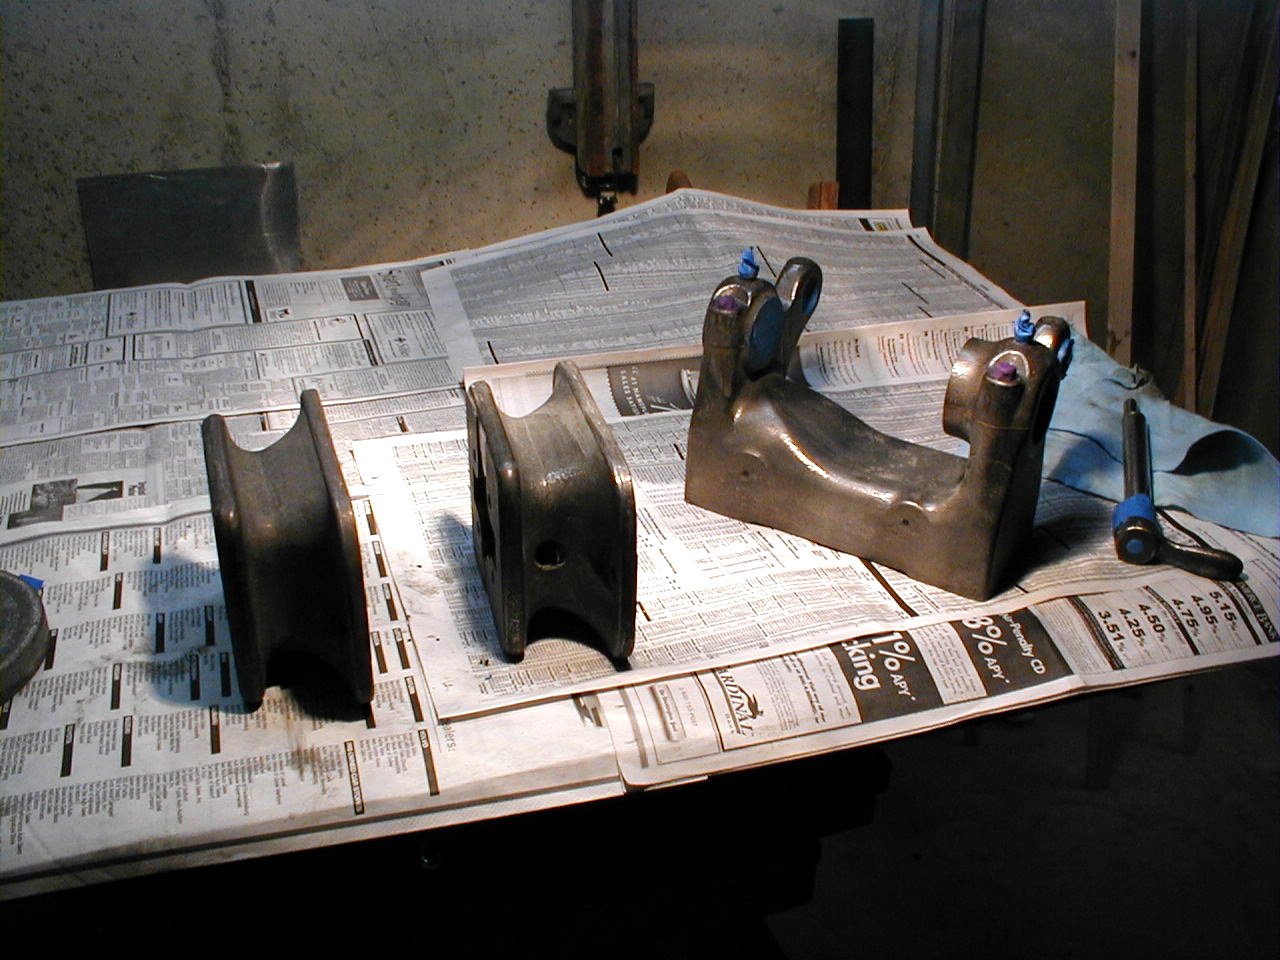
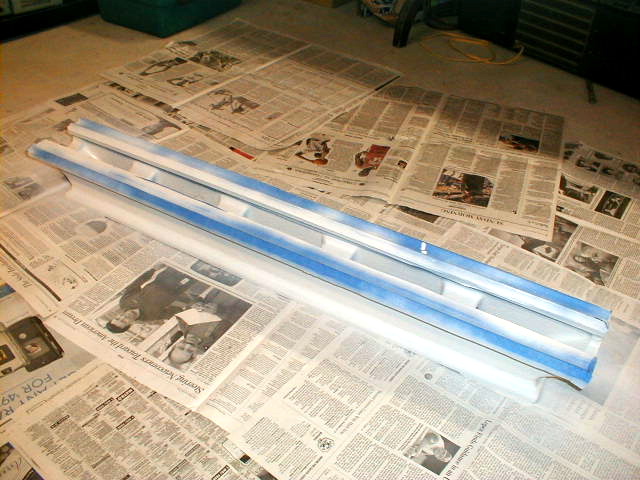
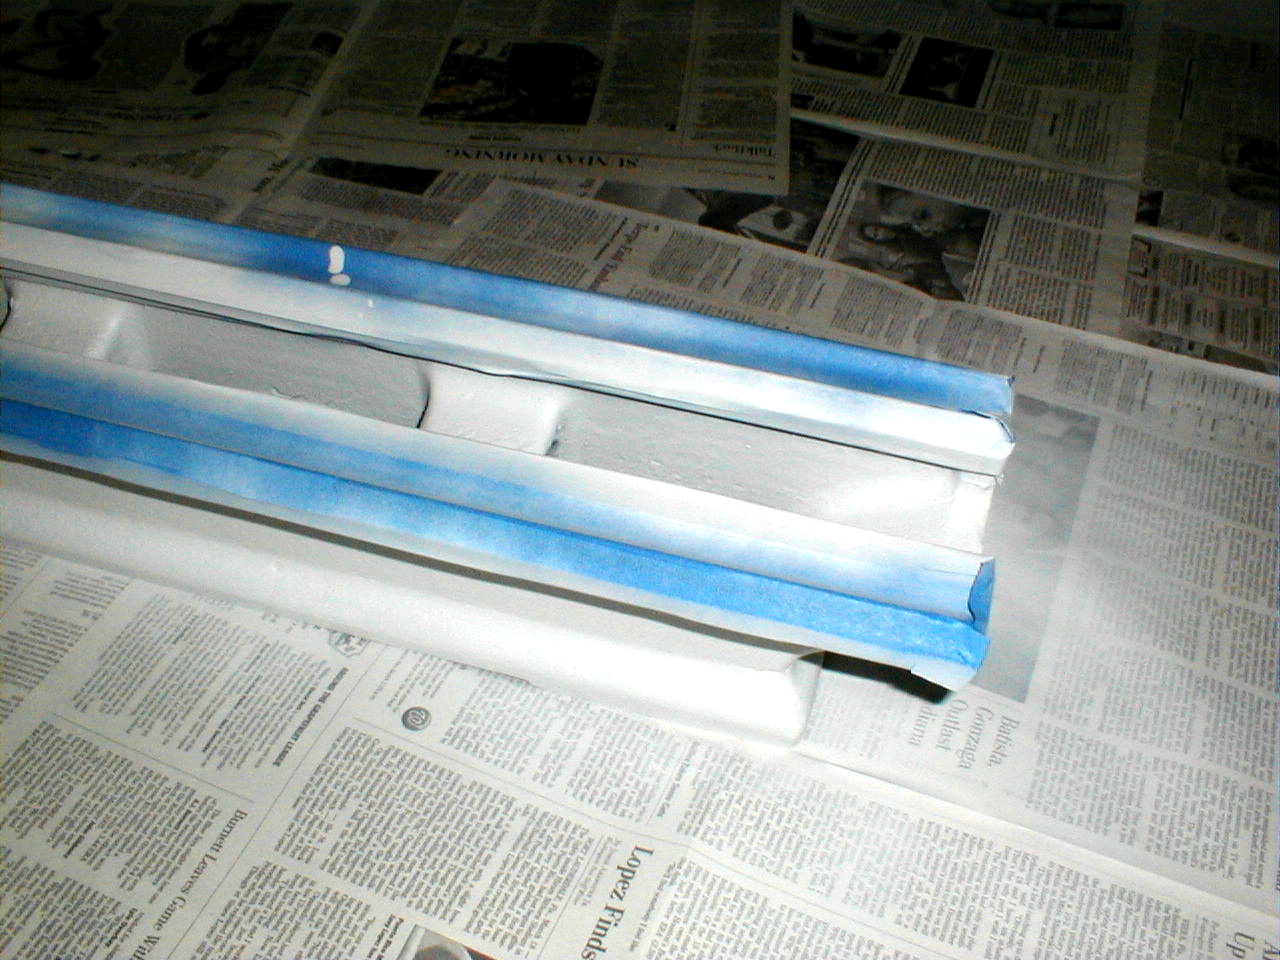
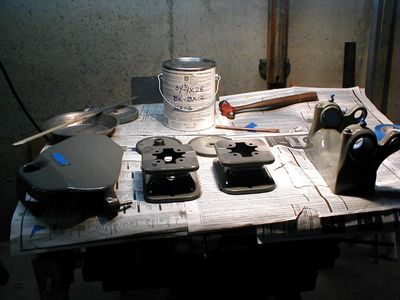
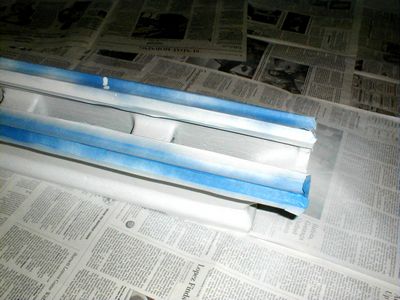
The
first parts to be stripped down. This is the original paint
darkened by age. I roughed up the paint with 600 paper,cleaned it
with the paint cleaner, taped the parts that didn't need paint, then
shot the new paint over it.
|

|
Pulling
down the head stock.
|

|
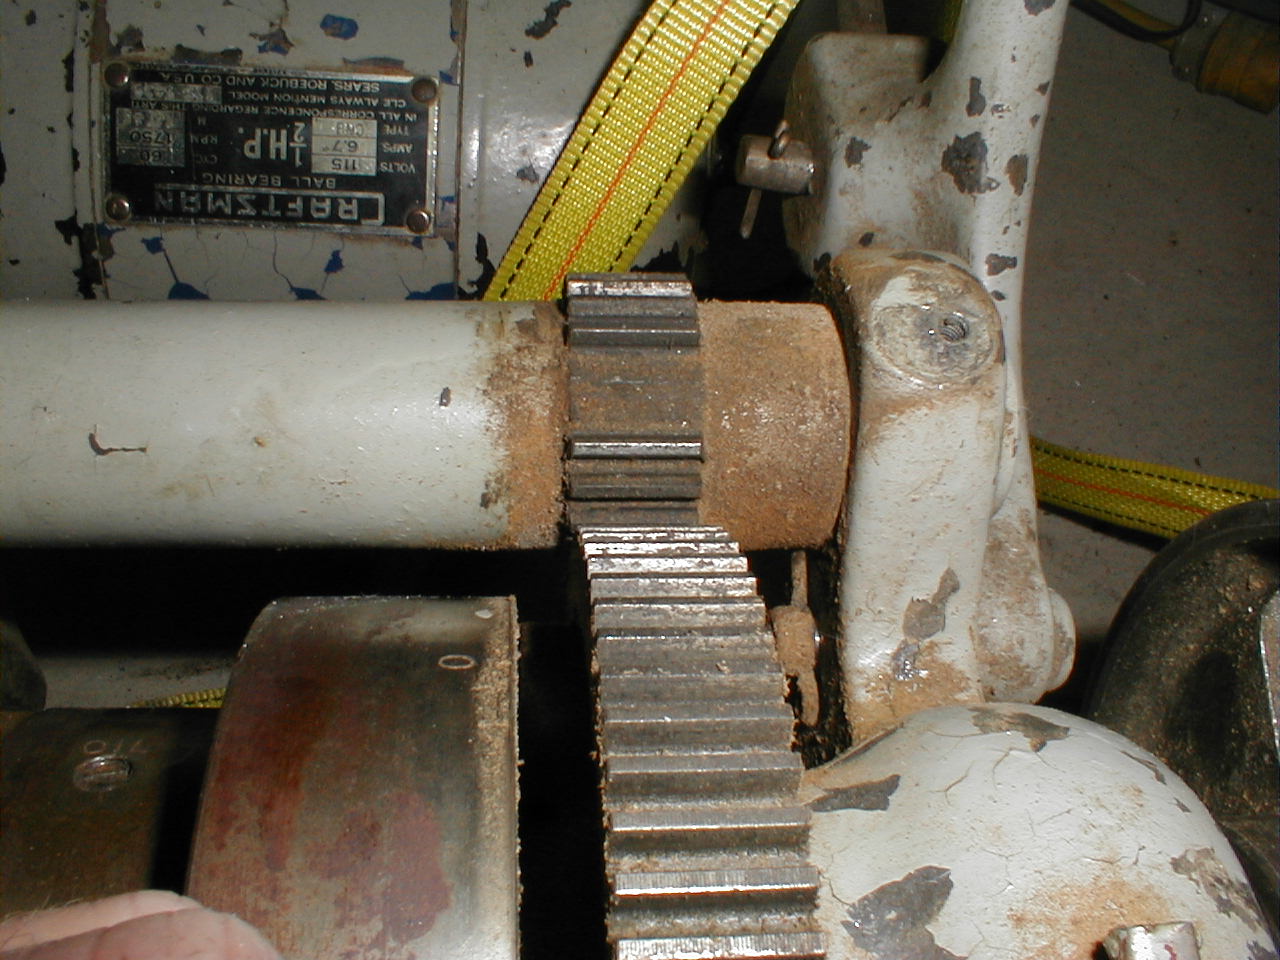
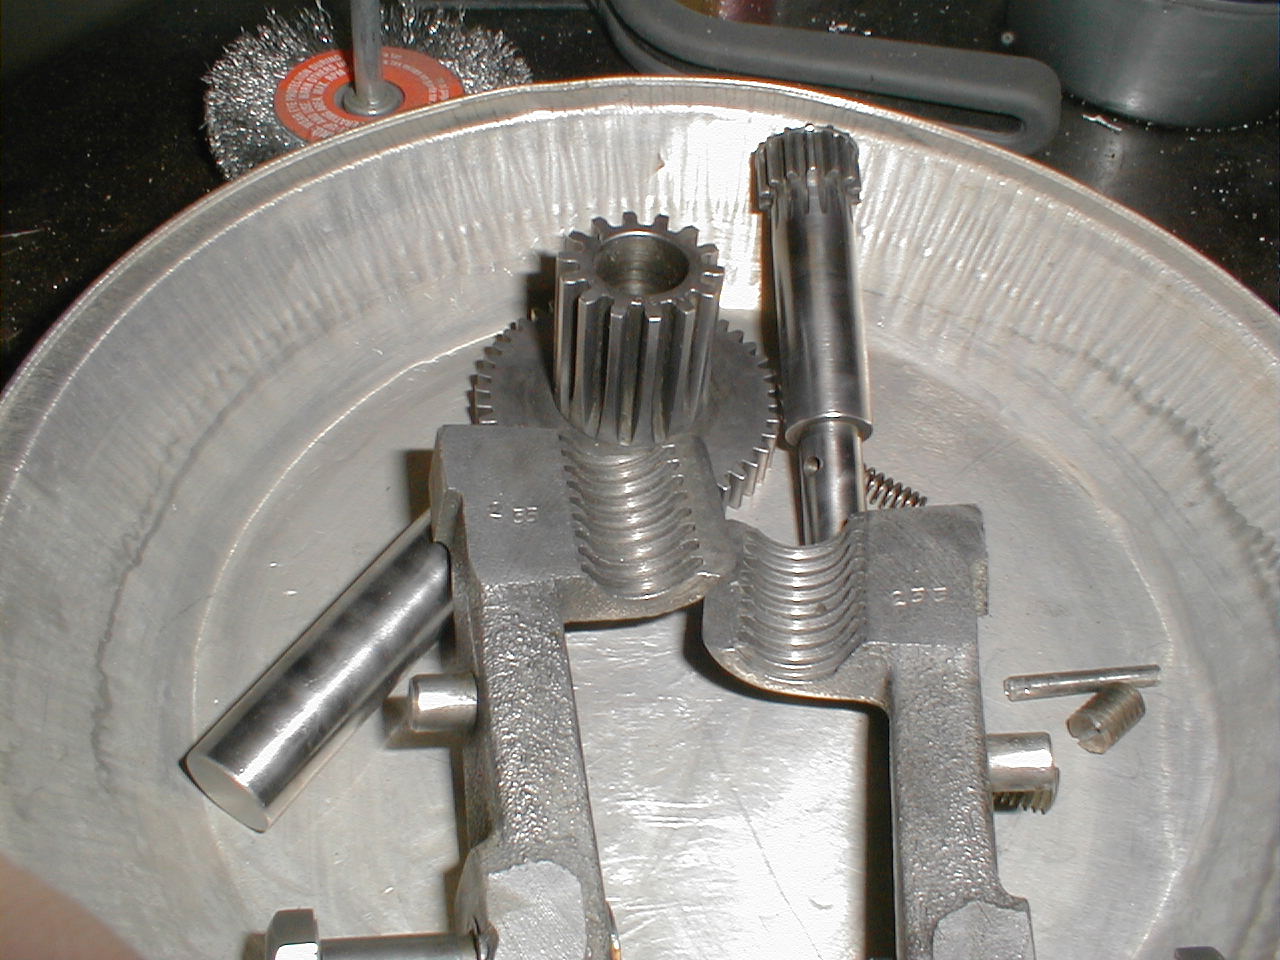
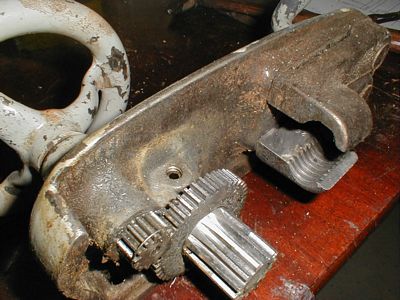
The
lathe's one problem. Two teeth sheared from the back gear.
|
|
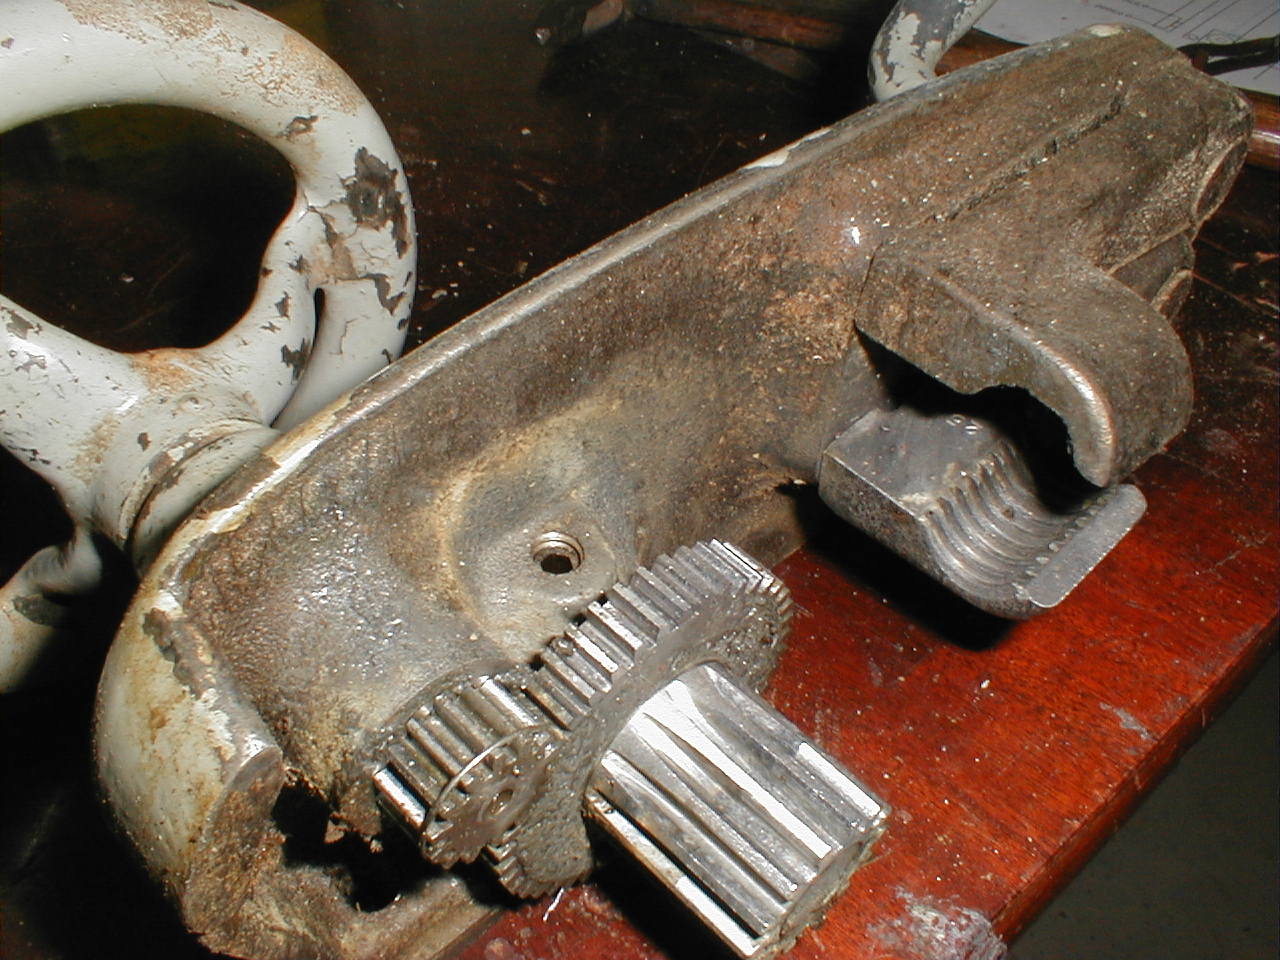
Amazingly,the
inside of the apron looks great. No wear on the gears and very
little on the clasp/half nuts.
|
|
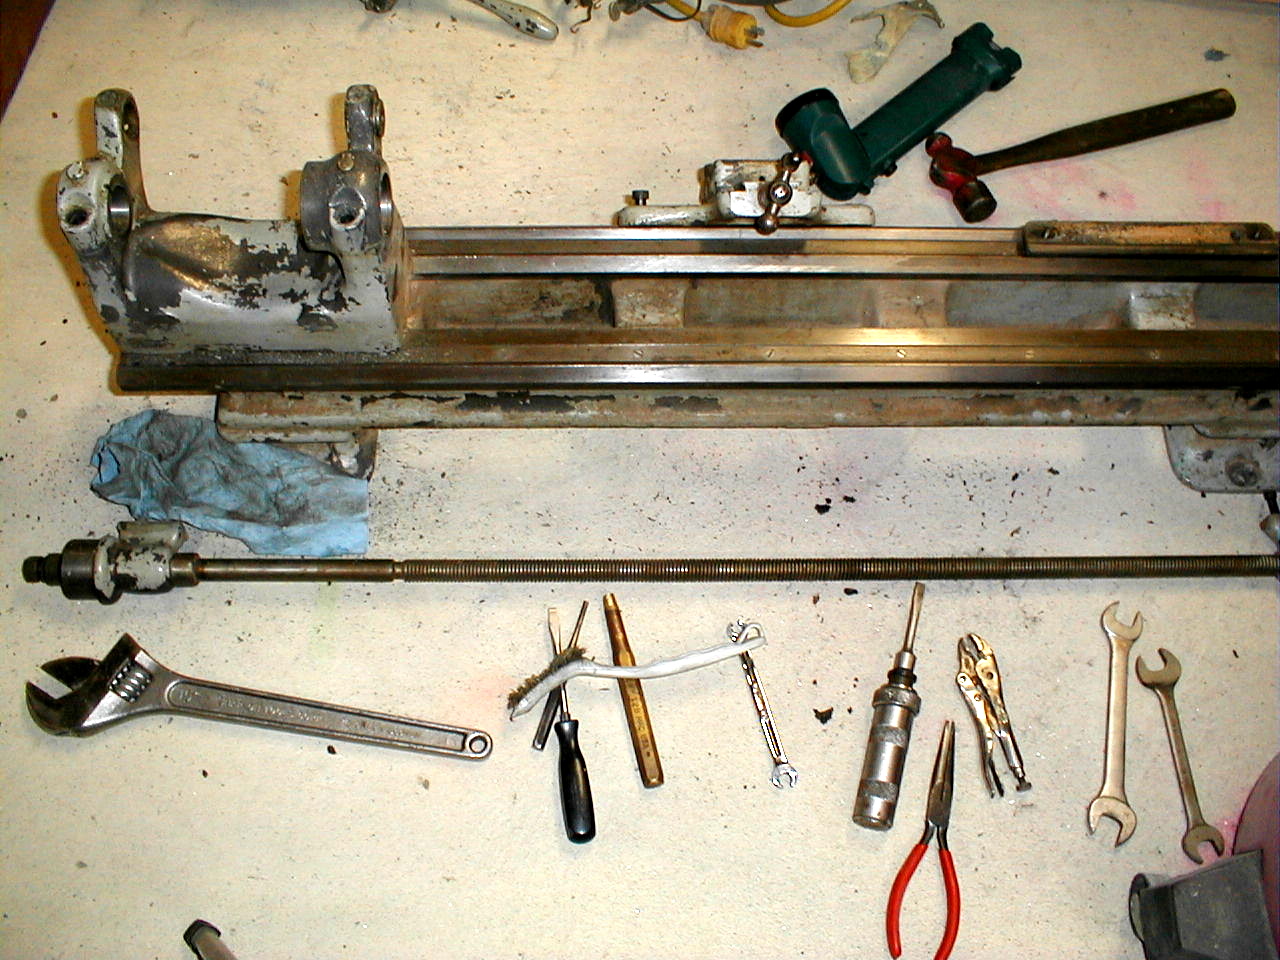
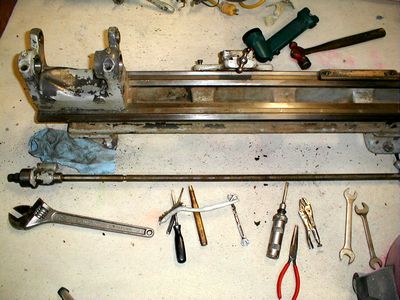
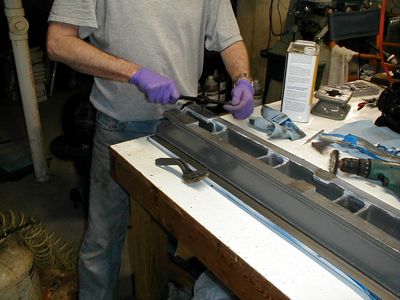
The
lead screw is out and I get to use a tool I haven't used in
decades. The fifth tool from the right on the bottom is a hand
impact. Hit it with a hammer to tighten or loosen screws.
This
allowed me to get all of the screws out without damaging a single
slot. Pretty cool!
|
|
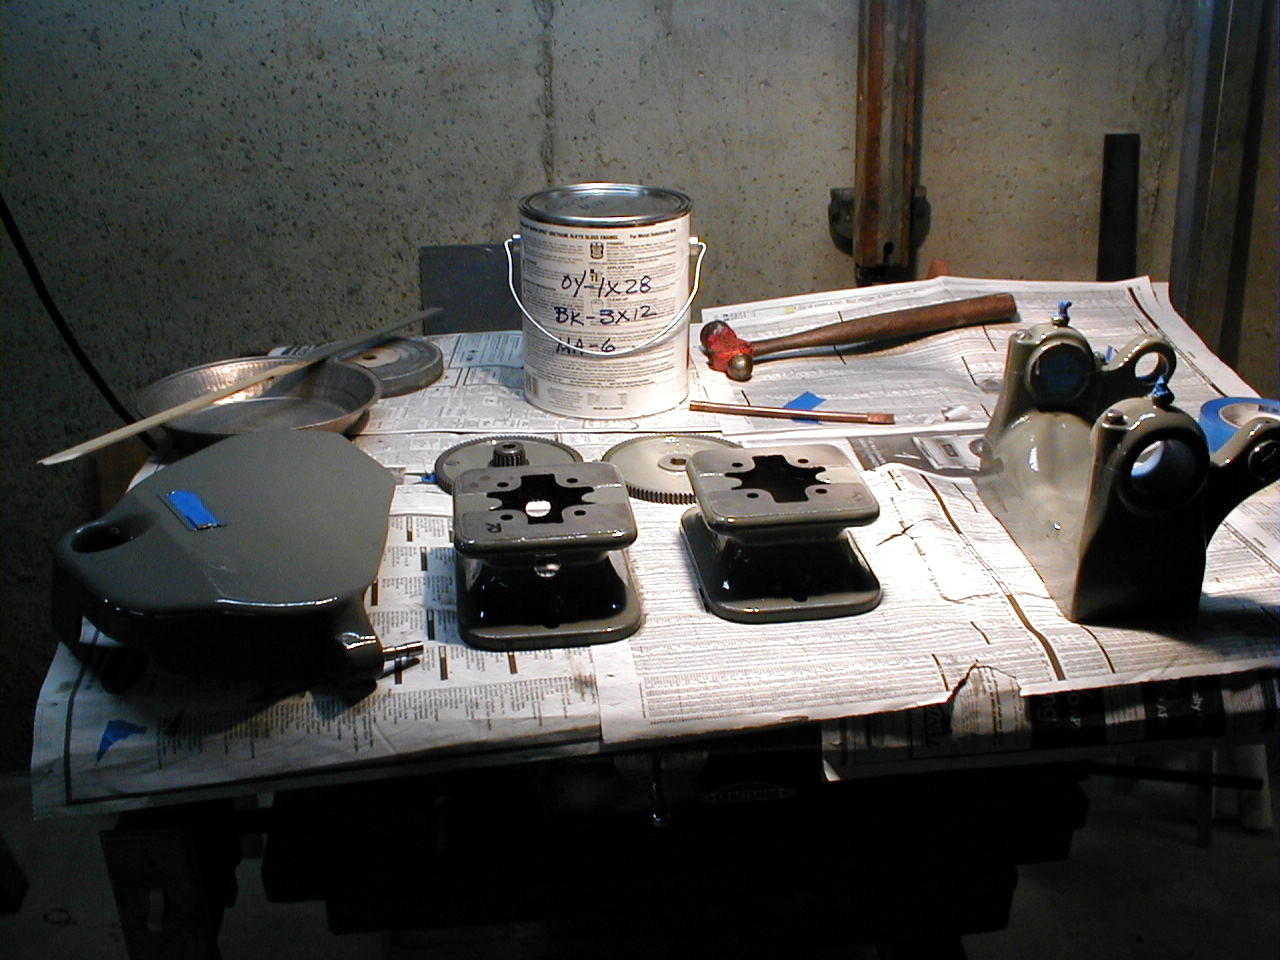
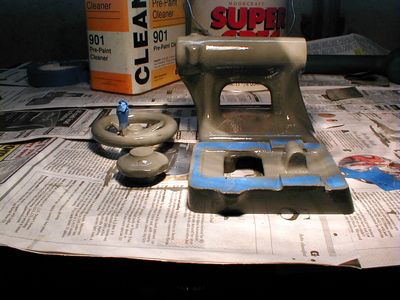
First
painted parts. Looking good.
|

|
The
head stock and both bed feet get taped and ready for their new coat of
paint.
|
|
The
gear cover joins the parts in paint land.
|
|
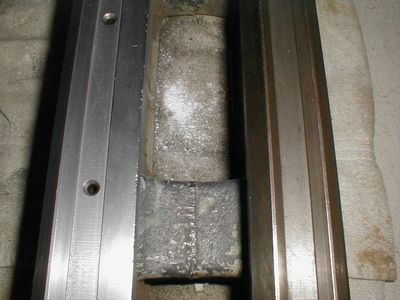
The
left side has been about half way cleaned, the right side is
untouched. Big difference.
|
|
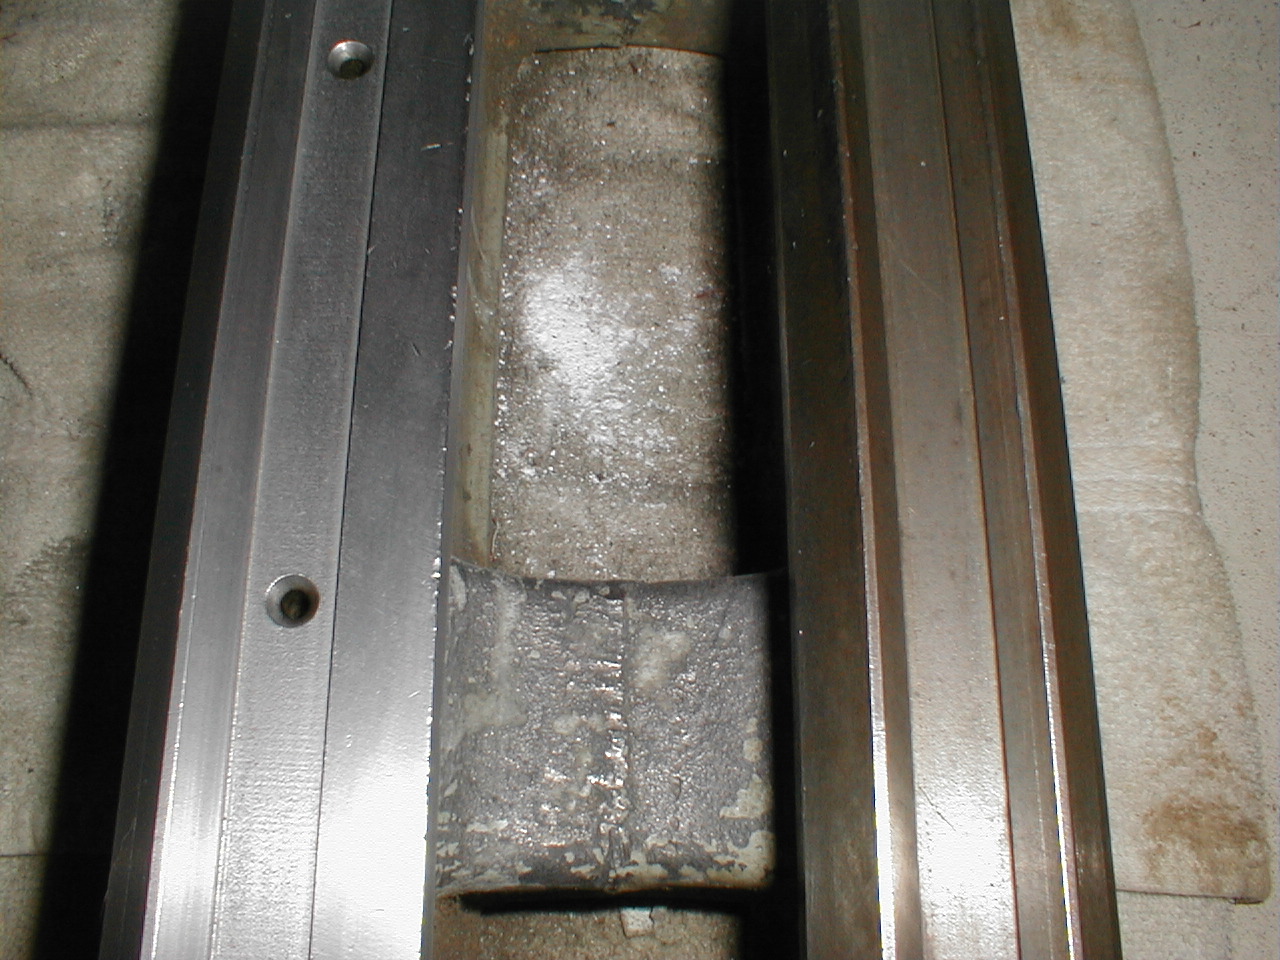
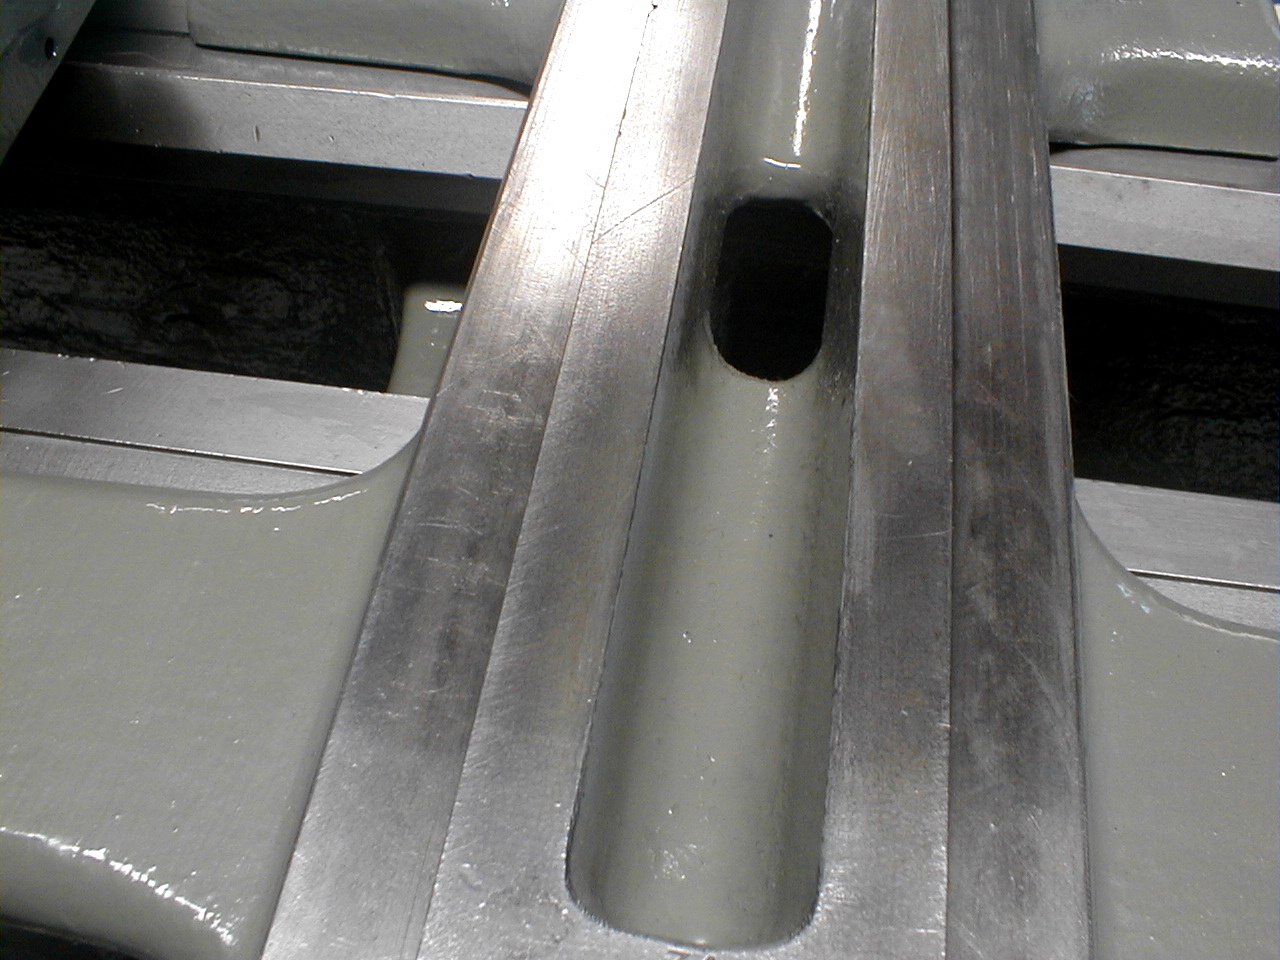
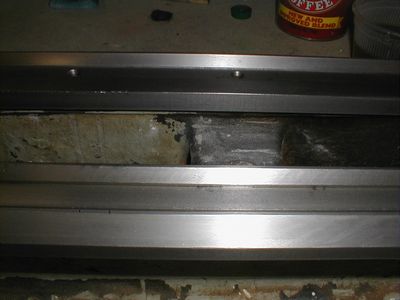
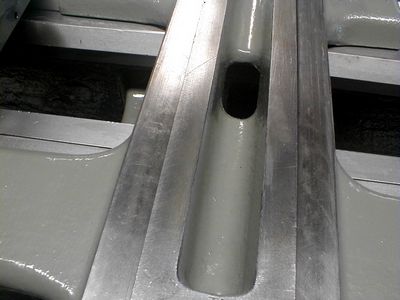
The faint diagonal lines are the hand
scraping lines that were a result of cleaning up the machining of the
ways.
|

|
More
scraping lines.
|

|
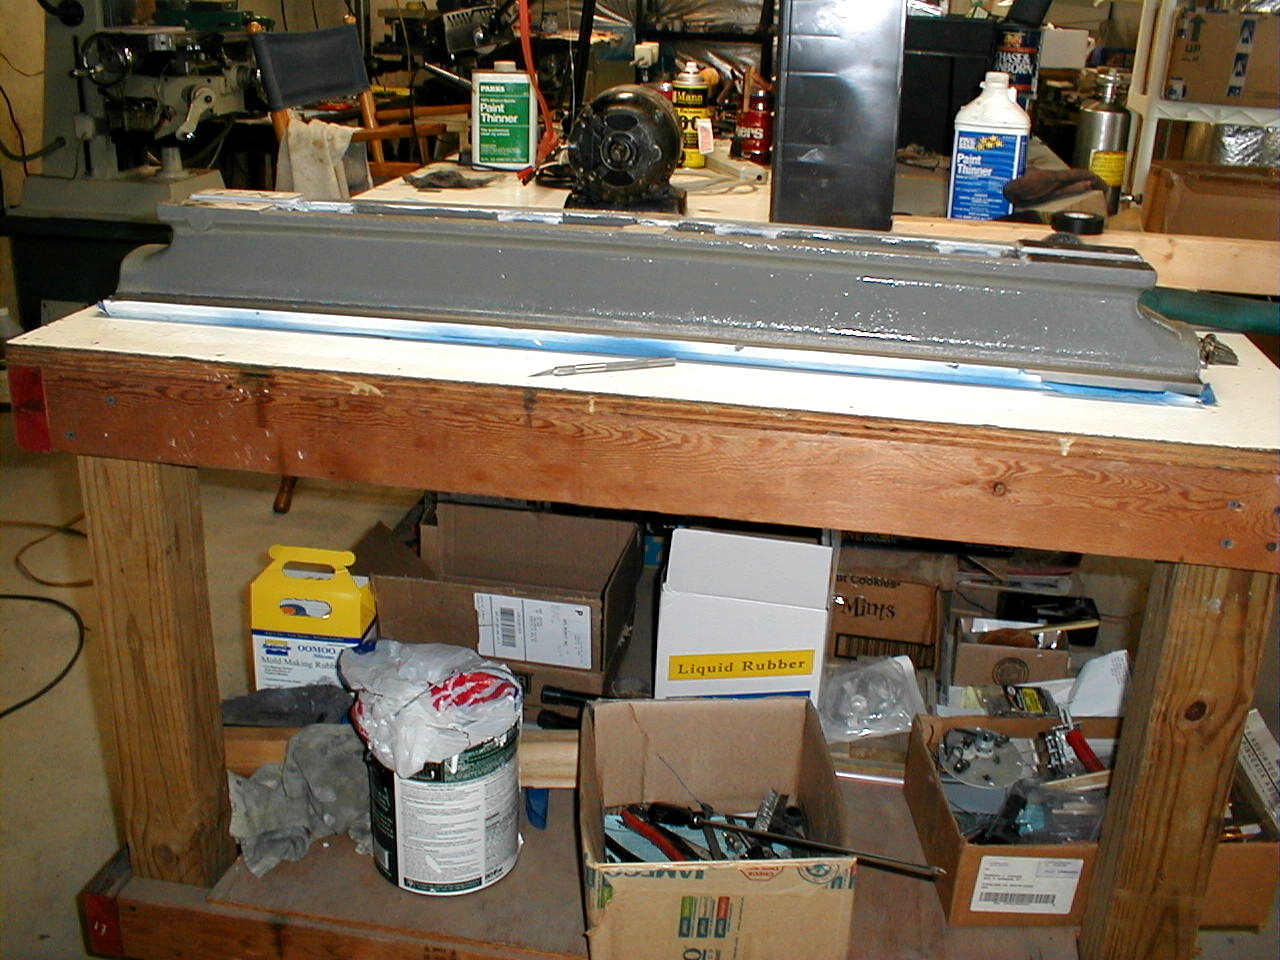
The
bed gets a few coats of primer.
|

|
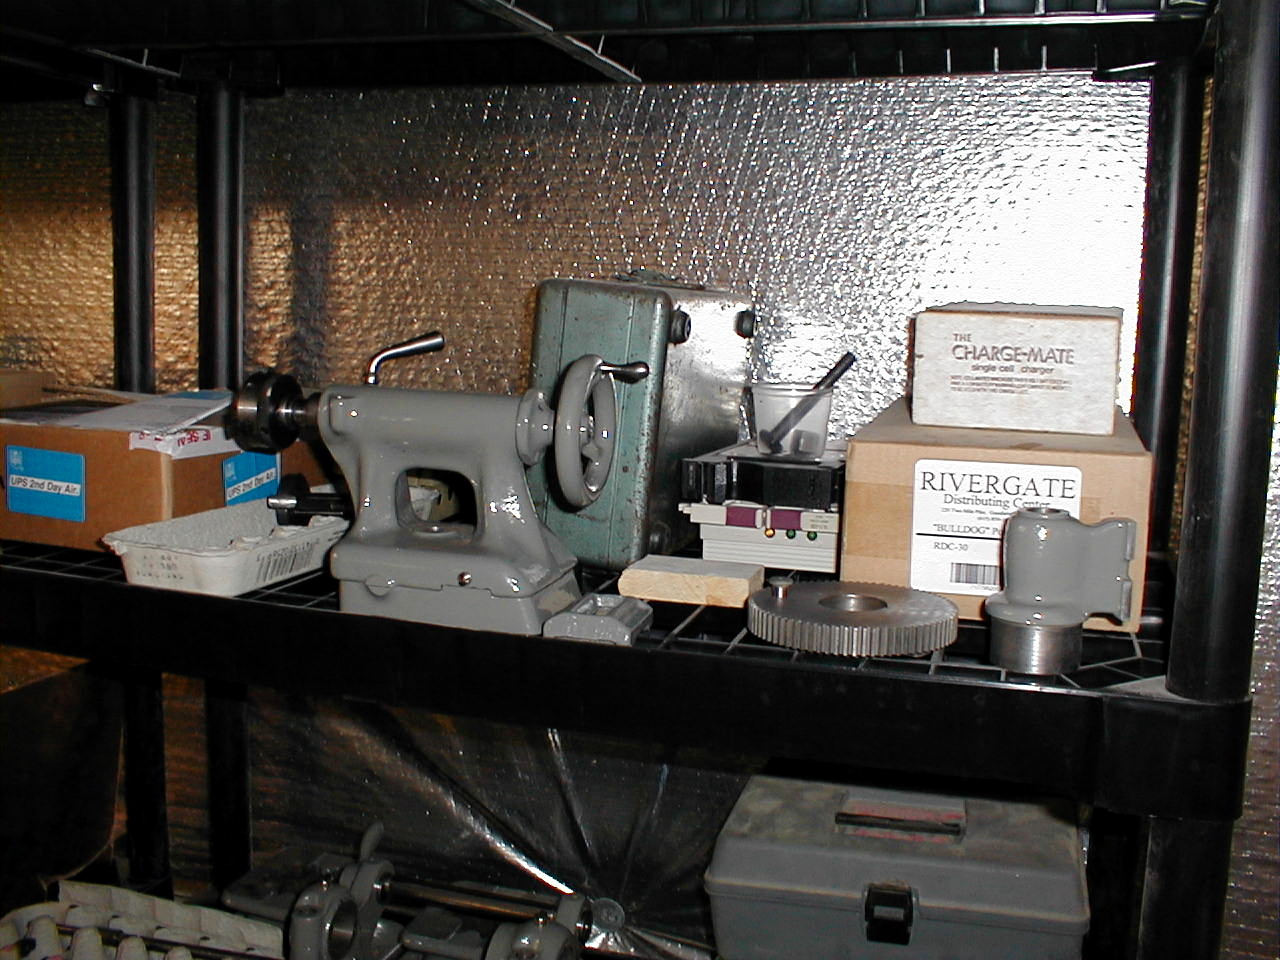
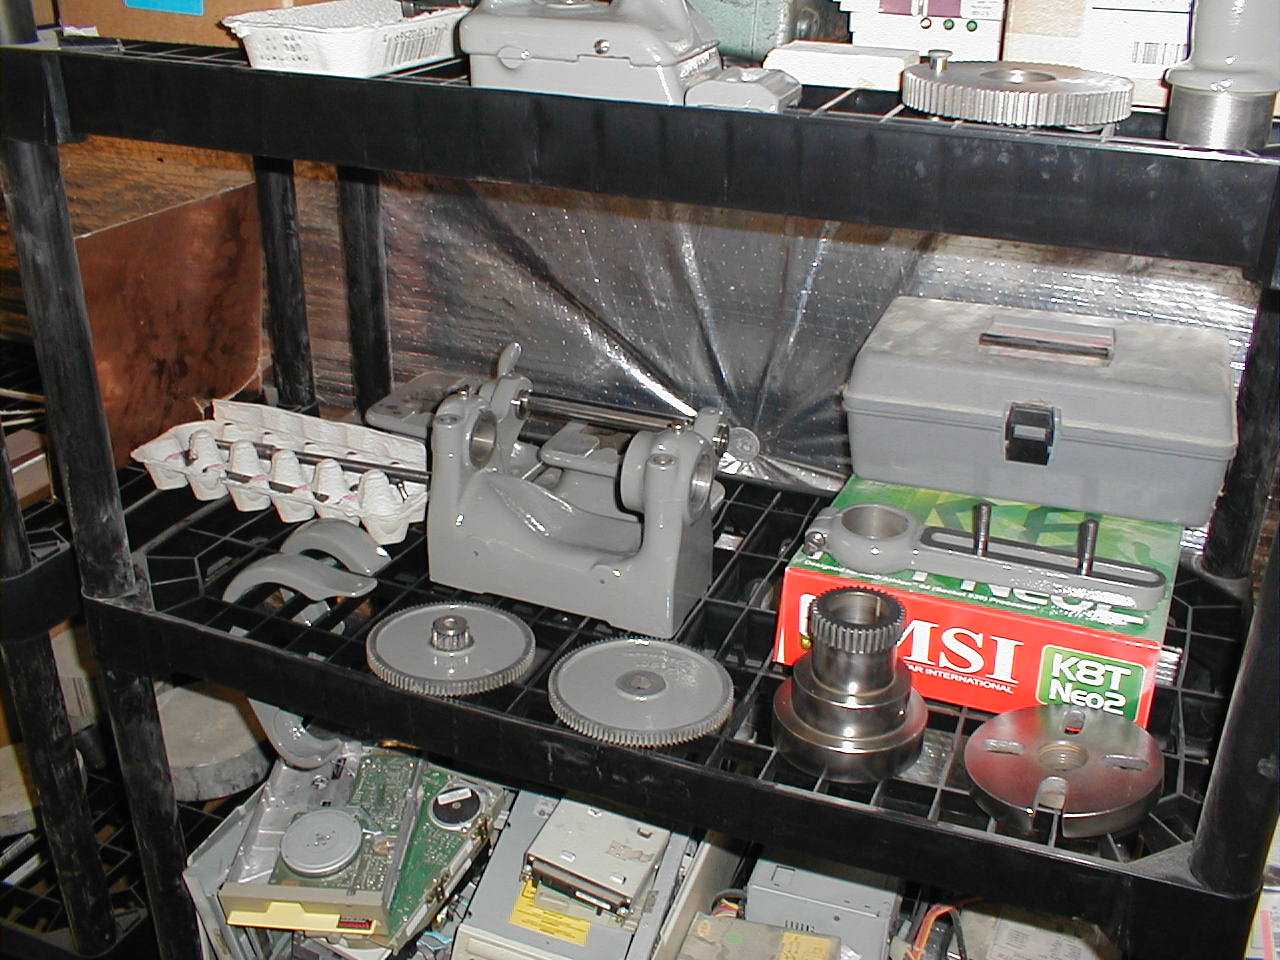
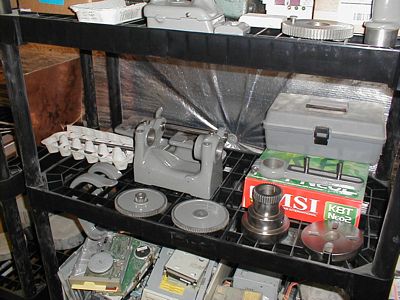
Parts
on the shelf assembled and ready to go back together.
|
|
More
of the same. No, the MSI motherboard doesn't go with this project!
|

|
Cleaning
up the parts from the apron.
|
|
And
another coat of primer for the bed.
|

|
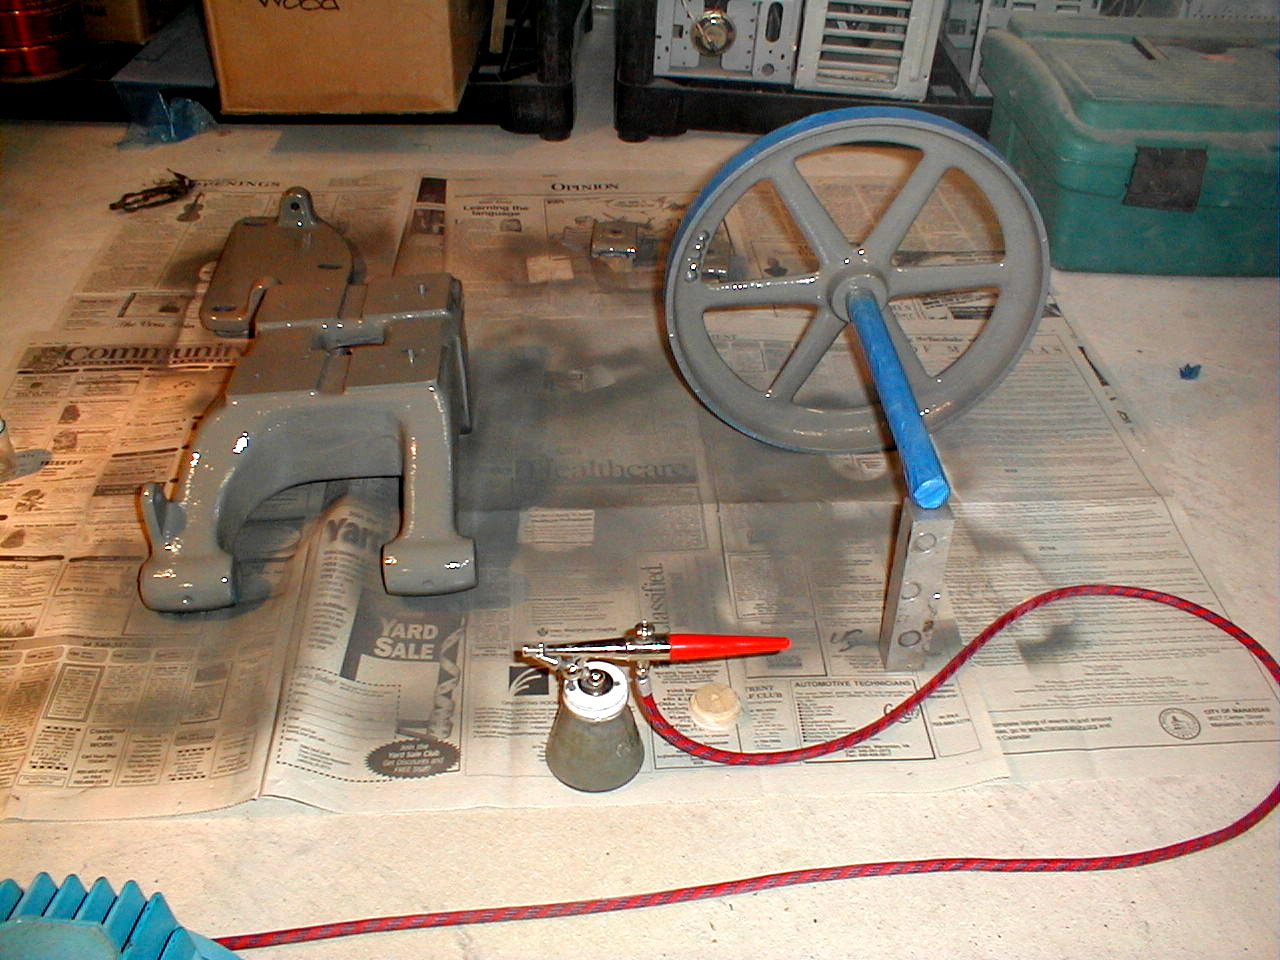
The
counter shaft parts get the paint treatment.
|
|
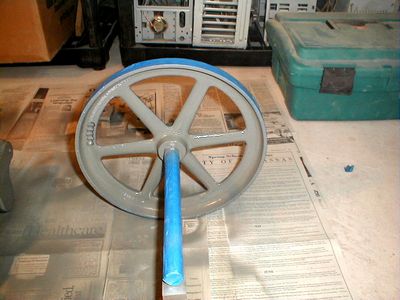
Notice
the balancing holes on the left. I don't know if these are
original or not. There is no vibration when running it.
|

|
Assembly
starts.
|
|
Tapping
out all of the threads to make sure that nothing binds when it is being
assembled.
|
|
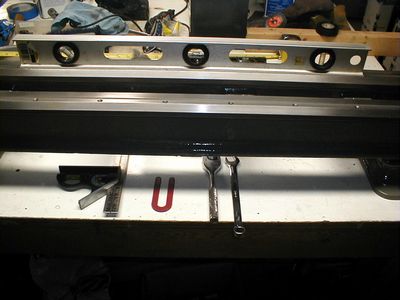
Getting
the lathe as level as possible with a carpenter's level. Not the
right tool for the job, but it will have to do until the new level
arrives.
|

|
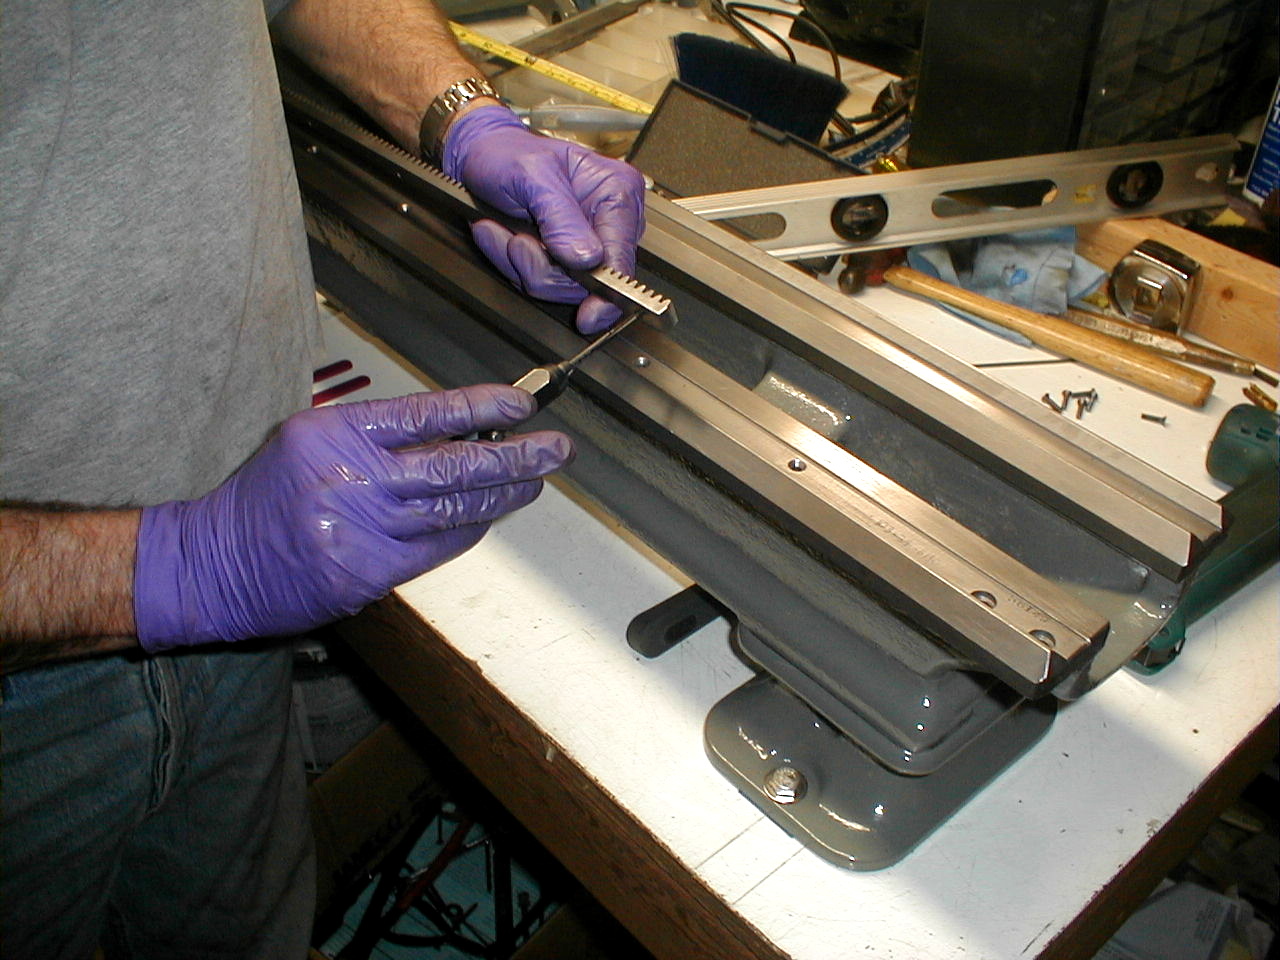
Chasing
the threads on the rack.
|

|
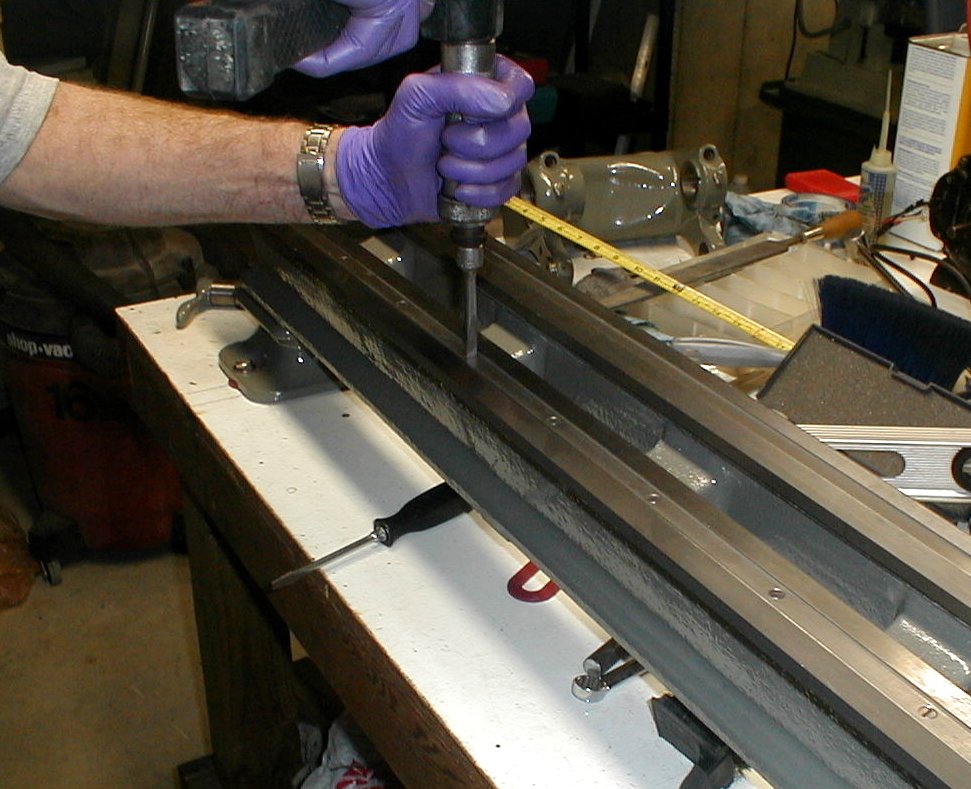
Using
the hand impact to reinstall the rack.
|
|
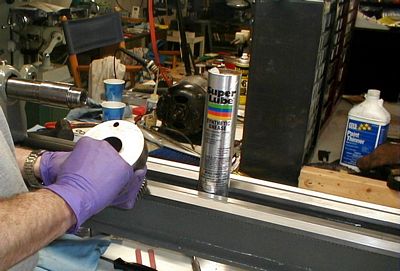
Everything
gets a coat of one kind of lubricant or another.
|

|
These
are not South Bend parts. The needle bearings will be used to set
the end play of the spindle, but I decided to build it up stock first
so I would be able to determine how much of an improvement adding the
needle bearings makes. This mod comes from the southbendlathe
group.
|
|
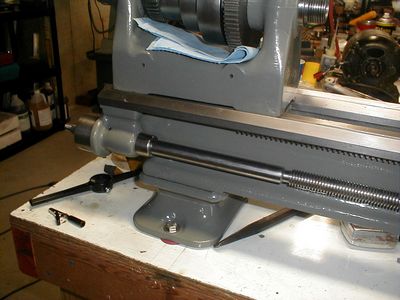
The
lead screw is installed.
|
|
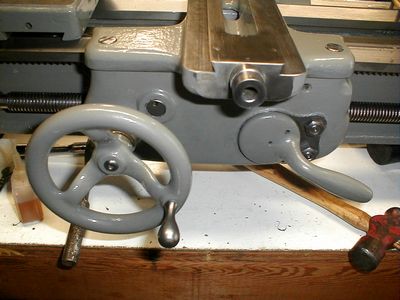
Then
the saddle and apron.
|
|
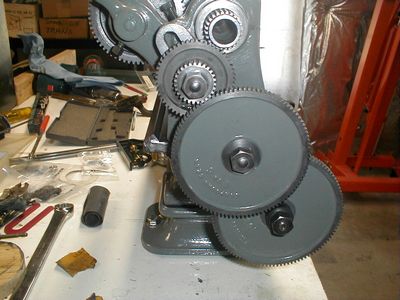
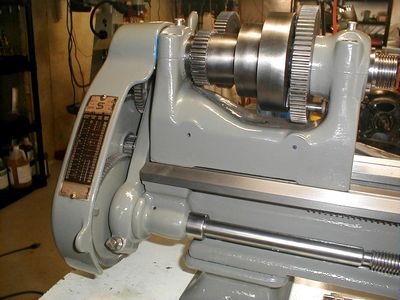
The
gears and banjo are installed.
|
|
The
gear cover goes on and it's beginning to look like a lathe..
|
|
Everything
looks so nice and clean!
|
|
You
can even see some signs of scraping on the saddle.
|
|
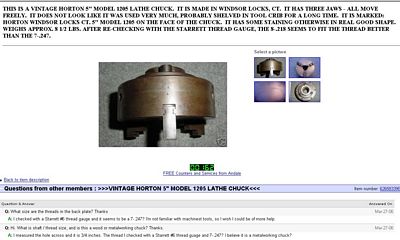
I
threw this story in because it shows how you can make your own luck on
Ebay. Most used 5" chucks that fit on the South
Bend 9" lathes sell for from around $65 to 4 times that. I got
this for $26 because the seller said that the adapter hole and threads
were 3/4". I thought it looked larger and 1.5" is usual. I
imported the image of the chuck into Photoshop and since I knew that i
twas 5" across the chuck's face from the model #, I counted the pixels
for 5" and divided by 5 to get a 1" length. I used that to
measure the hole. 1.5"! I ended up winning the chuck and when I
received it, I verified that I was right, it was 1.5 inches - though
how he came up with 3/4" is beyond me.
|

|
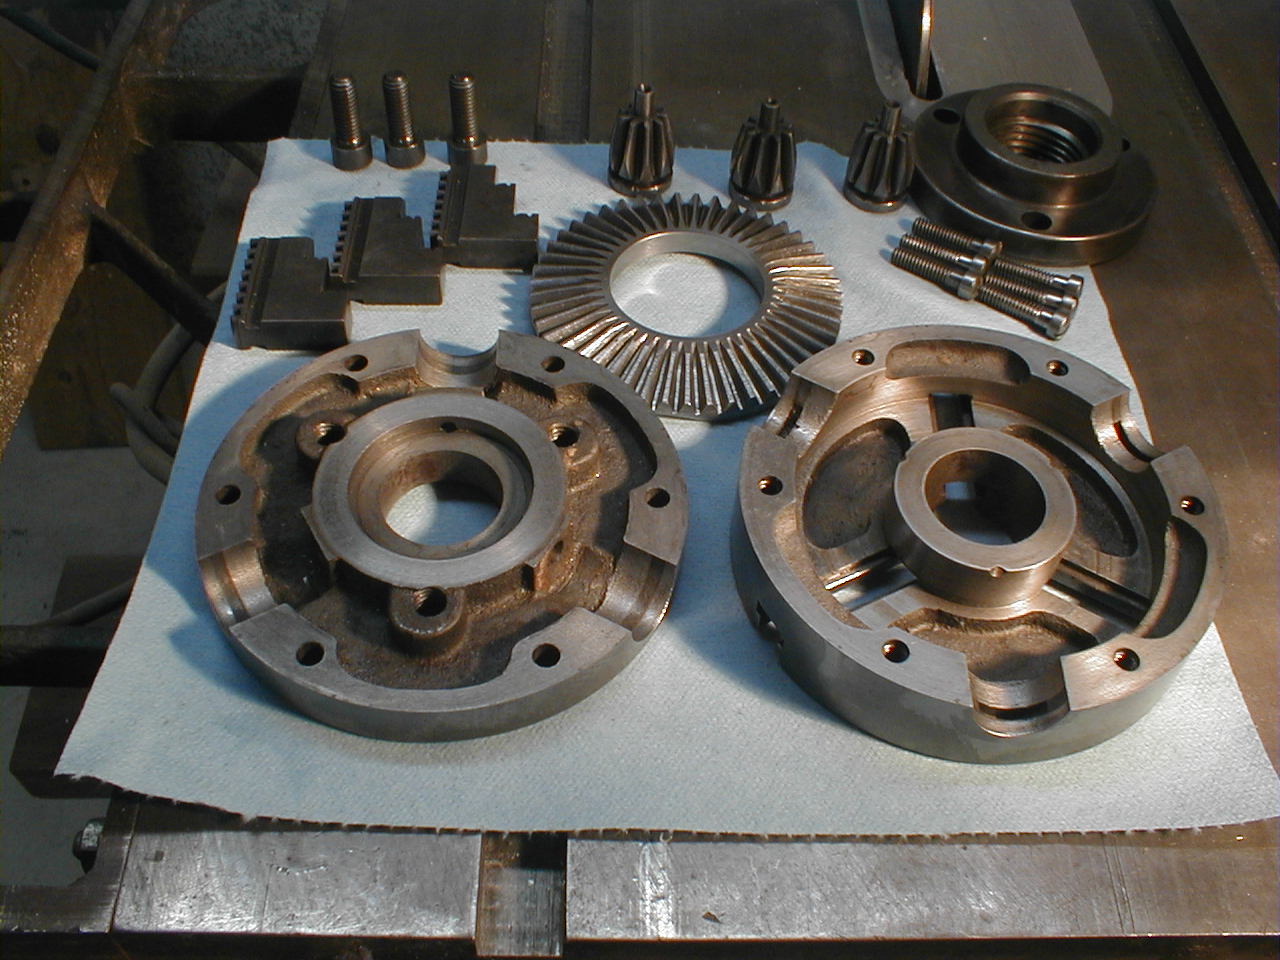
So
what did $26 + $10 shipping get me? An old Horton 5" chuck with
a1.5" X 8tpi adapter which I will replace with a 1-3/8" -10 tpi
adapter. This chuck is virtually unused. It just needed to
be soaked and disassembled, polished and lubed. There's no wear
on the gears, jaws or the scroll. The only damage are the 3 dings
on the center of the right housing. These won't have an effect on
the operation or even be seen once reassembled.
|
|
All
back together with a home made chuck key. It would cost quite a
bit more than $35 to replace it.
|