
|
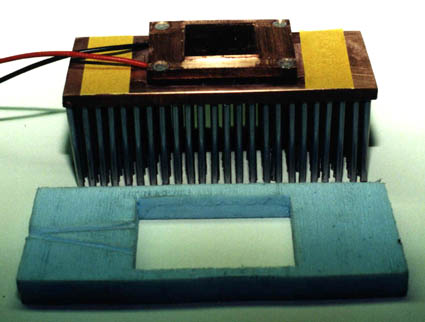
The original idea. Notice that there are a lot more pins on this than on the finished product. |
Because I was trying to do the work with tools not ideally suited for this project (as usual), I made some concessions and decided to make the first sink a little less of an ambitious project. Instead of the original 420 pins, I would scale it back to 240. There was also the problem of actually fitting two 40mm TEC's between the holes used to mount the Celeron. They don't fit, so you either switch to 30mm TEC's or don't allow the mounting screws to go all of the way through to the heat sink. I chose to go with one 40mm TEC for the first attempt and see how that would work.
Once I had a working model running without
the aid of a peltier, the switch to adding a TEC was pretty painless.
I used the small machined copper cold plate and the Celeron insulation
I had used in a couple other projects. I did need to add some new
insulation to the cold plate and between the Celeron and the sink.
local home center and comes in 4 X 8 foot sheets. The yellow strips are double-sided tape. The screws for the cold plate are made of less thermally conductive nylon. |
With only one peltier, I didn't expect
that the temperatures would fall much below 0° F at idle, but that
was more than cold enough to produce plenty of condensation. I had
been through enough condensation recently and was hoping that this insulation
would be enough to stop the drips on to my Matrox AGP card. I was
darn tired of unexpected resolution changes. It's probably not too
good for the card either ;-)
A good thermal paste pattern, and a tight fit for the assembly studs. |
With all of the pieces of foam in place
and sealed with silicone sealer, it looks pretty tight. Measuring
the depth of how far the slug will protrude into the foam to contact the
cold plate seems like it would be easy enough, but it took a few tries
until I got a good pattern of thermal grease between the slug and the cold
plate - and - no air gaps between the cold plate's insulation and the Celeron's
insulation.
 |
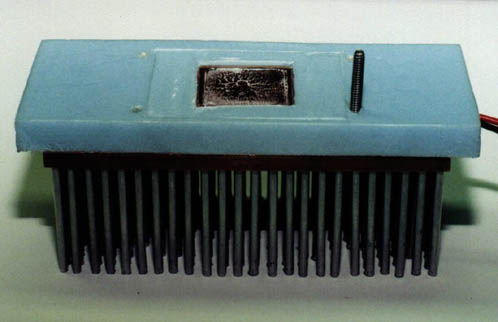
The pieces are assembled. If you
look to the left and right edges, you can see the insulation for the Celeron.
It's a little on the worn side after being on no less than six different
sinks before this one. One of these days I'll get around to replacing
it.
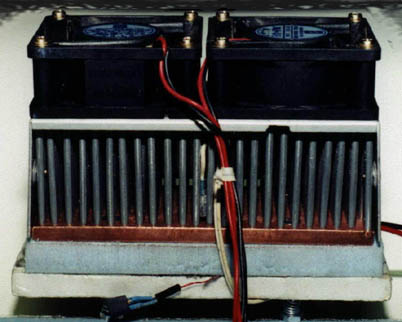 |
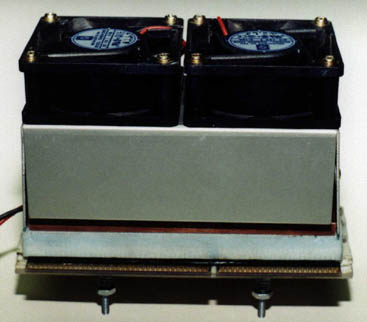
Now the top side of the Celeron's insulation
is visible. As you can see, this is no assembly for a compact sized
motherboard. The fans are set to draw air through the fins, rather
than to blow air on them. If you're wondering about the notch on
the fan shroud, that was for some sensor wires on another application.
|
|
|
|
|