 |
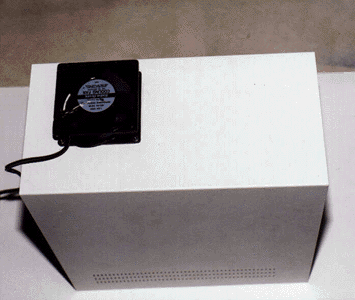
Early on in my quest for a cool case, I had spoken to a few friends about opening up a hole in the top of the case. Aside from the concerns of actually having a hole in the case top, both aesthetically and as an entrance for dust when the fan was not running, it was generally thought that it was the best way to get the heat out. Intake cool air from the bottom and expel hot air from the top. Before my latest project, I considered it over-kill, even for me. Now it seemed it was necessary.
Whether to use a 12 volt DC fan or one using wall current wasn't even an issue. My case is getting rather full of components and with the addition of the peltier, which draws 2 amps, I was unwilling to put more of a load on the power supply. So it was off to Radio Shack to pick up a 120 volt case fan. I settled on model #273-241, a 65 cfm 4" fan for $19.
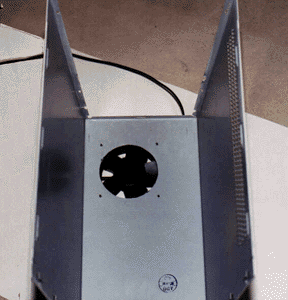
Installation was pretty straight forward once I got over the fact that I was cutting a hole in the top of my case cover. I used a Dremel tool with a fiber cut-off wheel for opening the hole. I also picked up a louvered 6" dryer exhaust vent cover which I will use when I build the enclosure for the fan. For the time being, the fan sits atop the case like an afterthought. They say that form follows function, and it does function well. It brings the case temperature back to within a few degrees of room temperature with the current set up. In fact, the case runs cooler with the cover on than it does with the cover off.


This fan is much quieter than my other 4" AC powered fan, so there has been no appreciable increase in noise. There has been a big increase in the amount of wind under my desk, though.
|
Intro . |
voltage limits |
high volts |
trying peltiers |
second attempt |
stable @ 504 |
lower voltage |
case heat |
final thoughts |
build it |